
Using an electric food dryer is crucial for preserving your herbs. Start by selecting vibrant, healthy herbs and rinse them gently to remove dirt. Prepping them well guarantees better flavor retention. Set your dryer between 95°F and 115°F, adjusting for each herb's needs—like lowering temps for delicate ones. Ascertain adequate airflow by spacing herbs on trays and monitoring drying times to prevent over-drying. Once dried, store herbs in airtight containers in a cool, dark place, labeling them clearly. With these tips, you'll maximize your herbs' shelf life and flavor, and there's more to explore on perfecting your preservation techniques.
Choose the Right Herbs
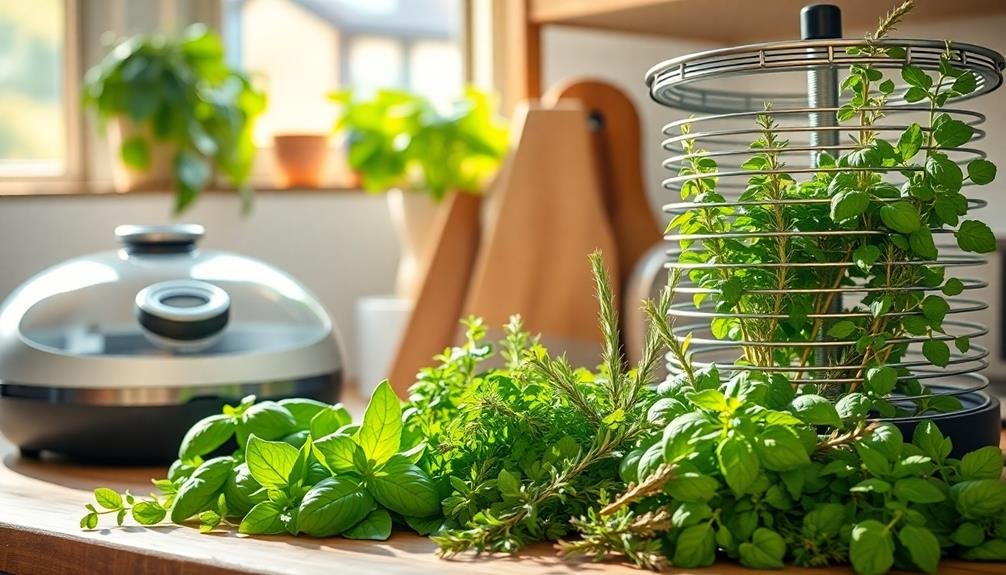
When it comes to preserving herbs, how do you choose the right ones? Start by considering the herbs you use most in your cooking. Think about basil, thyme, or rosemary—these are popular choices that can elevate your dishes. Fresh herbs are best for drying, so look for vibrant, healthy plants without any signs of wilting or discoloration.
Next, consider the flavor profile you want to maintain. Some herbs, like dill or oregano, dry well and retain their flavor, while others, such as cilantro, may lose potency once dried. Additionally, think about the growth cycle of the herbs. Herbs harvested at their peak freshness will yield the best results.
You can also select herbs based on your culinary preferences. If you love Mediterranean cooking, consider drying herbs like sage or marjoram. If you enjoy Asian flavors, try preserving lemongrass or Thai basil.
Ultimately, your choices should reflect what excites your palate and complements your cooking style. By selecting the right herbs, you're setting the stage for delicious, flavorful meals all year round.
Prepping Your Herbs
Before you start drying your herbs, it's important to prep them properly. Taking the time to do this guarantees that you get the best flavor and shelf life out of your dried herbs. Here are some key steps to follow for effective herb preparation:
- Wash: Rinse your herbs gently under cool water to remove dirt and any potential pests.
- Dry: Pat them dry with a clean towel or use a salad spinner to remove excess moisture. This step is vital, as too much water can lead to mold during drying.
- Trim: Remove any damaged or wilted leaves. You might also want to cut off thicker stems since they can take longer to dry than the leaves.
- Chop (optional): If you prefer smaller pieces, you can chop your herbs to increase the drying surface area. Just be mindful that smaller pieces may dry faster, so keep an eye on them.
Optimal Drying Temperatures
When it comes to drying herbs, hitting the ideal temperature range is essential for preserving flavor and potency.
Different herbs require specific temperatures to maintain their unique characteristics, so knowing these guidelines can make all the difference.
Let's explore how the right drying temperatures can enhance your herb preservation efforts.
Ideal Temperature Range
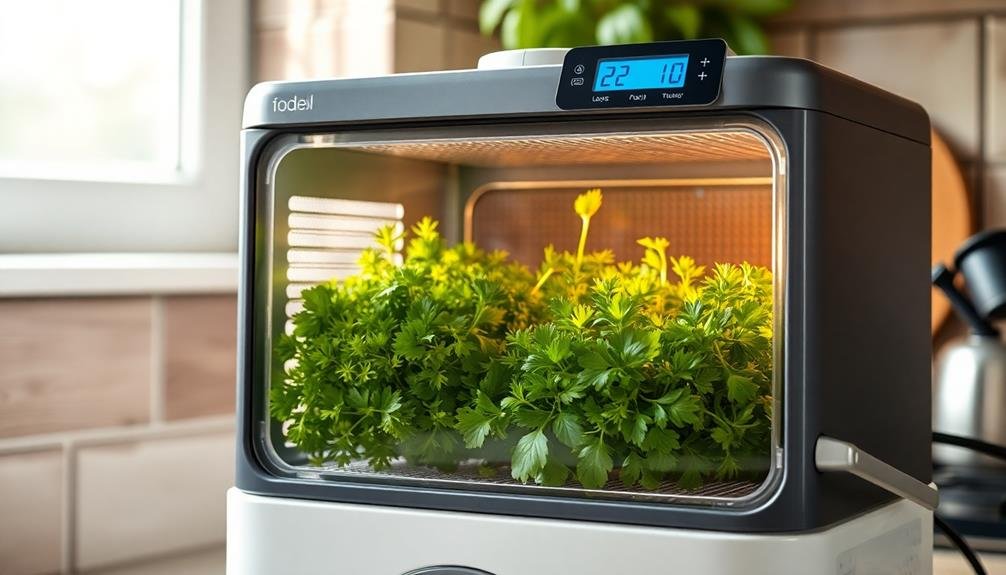
Finding the ideal temperature range for drying herbs is crucial for preserving their flavor and nutrients. Generally, you'll want to set your electric food dryer between 95°F and 115°F (35°C to 46°C). This temperature range allows the herbs to dry thoroughly without cooking, which helps maintain their essential oils and vibrant colors.
Here are some key points to keep in mind when determining the right temperature:
- Type of Herb: Different herbs have varying moisture content and drying needs.
- Airflow: Guarantee good airflow within the dryer to promote even drying.
- Humidity: If you're in a humid environment, a slightly higher temperature may be necessary to combat moisture.
- Timing: Monitor the drying process closely; herbs can go from perfectly dried to over-dried quickly.
Temperature Effects on Flavor
The temperature at which you dry herbs greatly impacts their flavor profile. High temperatures can cause essential oils to evaporate quickly, leading to a loss of flavor and aroma. If you're aiming for the best taste, stick to a lower temperature range—typically between 95°F and 115°F. This helps preserve the delicate compounds that give herbs their unique flavors.
When you dry at ideal temperatures, you maintain those important oils and flavors that are essential for culinary use. On the other hand, drying at excessively high temperatures can result in a burnt taste, rendering your herbs less enjoyable in your dishes. You want to avoid that, especially if you've invested time growing or sourcing quality herbs.
Keep an eye on your food dryer's settings, and adjust as necessary to guarantee you're not sacrificing flavor for speed. Remember, patience is key when it comes to herb preservation.
Herb-Specific Drying Guidelines
Different herbs require specific drying temperatures to retain their unique flavors and characteristics.
If you want your herbs to taste their best after drying, pay attention to these ideal temperatures:
- Basil: 95°F (35°C) – Keeping it low preserves its sweet, aromatic notes.
- Oregano: 105°F (40°C) – A slightly higher temperature enhances its robust flavor.
- Thyme: 95°F (35°C) – Lower temps help maintain its delicate essential oils.
- Rosemary: 115°F (46°C) – This herb can handle a bit more heat without losing its essence.
Using the right temperature for each herb not only guarantees better flavor but also helps retain the vibrant colors and essential oils.
Always check the dryness by crumbling a leaf; if it breaks apart easily, it's ready.
If you dry at temperatures that are too high, you risk burning the herbs, which can lead to a bitter taste.
Arrange for Even Drying
To achieve ideal results when drying herbs, you need to pay attention to proper herb placement in your dryer.
Adjusting the temperature and monitoring the drying time are also essential steps to guarantee even drying.
Proper Herb Placement
For ideal results in drying herbs, proper placement is key. When you arrange your herbs in the electric food dryer, you want to guarantee they receive adequate airflow and heat.
Here are some tips to help you achieve even drying:
- Leave space between herbs: Don't overcrowd the trays. This allows air to circulate freely around each herb.
- Use uniform sizes: Chop or prepare herbs to a similar size to guarantee they dry at the same rate.
- Layer wisely: Place thicker, denser herbs on lower trays and lighter, more delicate ones on top. This prevents moisture from dripping onto the herbs below.
- Check orientation: Position herbs with their stems facing in the same direction, if possible. This helps maintain airflow and avoids tangling.
Adjusting Dryer Temperature
Adjusting the dryer temperature is crucial for achieving ideal herb preservation. Each type of herb has its own best drying temperature, which helps maintain flavor, color, and nutrients. Generally, you'll want to set the temperature between 95°F and 115°F (35°C to 46°C) for most herbs. If you dry them at too high a temperature, you risk losing essential oils and degrading the quality of the herbs.
To guarantee even drying, start by familiarizing yourself with the specific temperature preferences of the herbs you're using. For delicate herbs like basil and parsley, lower temperatures work best, while sturdier herbs like rosemary can handle slightly higher settings.
Once you've set the appropriate temperature, check the dryer periodically. Make adjustments if necessary, as factors like humidity and the volume of herbs can influence drying conditions.
Keeping the temperature consistent throughout the drying process prevents uneven drying, ensuring that all parts of the herbs lose moisture at the same rate. This way, you'll achieve a perfectly preserved product ready for storage and future culinary creations.
Monitor Drying Time
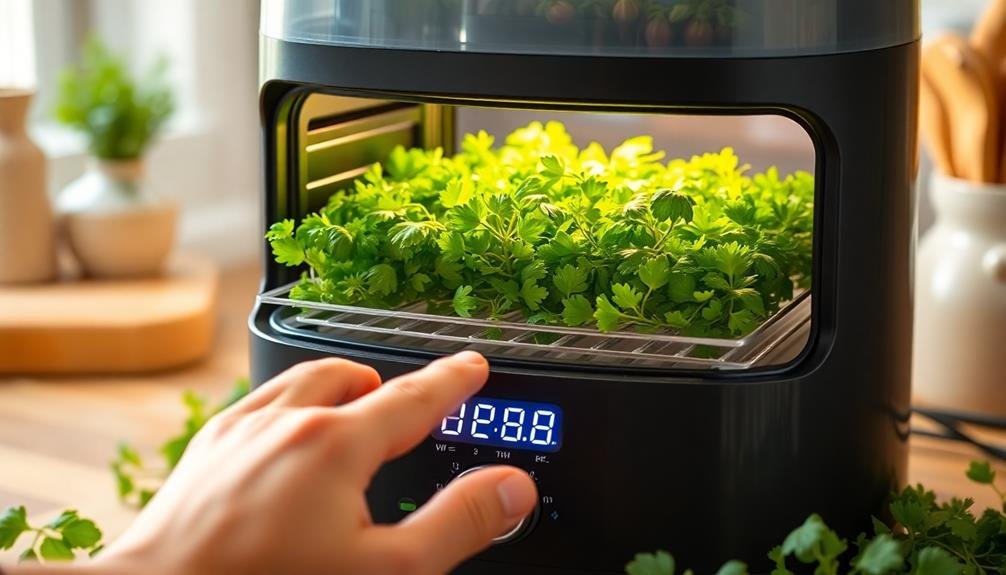
Monitoring drying time is essential to secure even drying of your herbs. When you're using an electric food dryer, it's easy to get distracted, but keeping an eye on the clock helps ensure that your herbs are dried uniformly.
Uneven drying can lead to some herbs being overly crispy while others remain too moist, which can affect their flavor and shelf life.
To effectively monitor drying time, consider the following tips:
- Check the manufacturer's guidelines for recommended drying times for specific herbs.
- Set a timer to remind you to check on your herbs periodically.
- Rotate the trays halfway through the drying process for consistent air circulation.
- Use a moisture meter to assess the dryness of your herbs before storage.
Monitor Drying Time
Timing is essential when drying herbs with an electric food dryer. You need to keep a close eye on the clock to guarantee your herbs dry properly without losing their flavor or color. Each type of herb has its own ideal drying time, so it's vital to familiarize yourself with the specifics of the herbs you're using.
Generally, most herbs take between 1 to 4 hours to dry, but remember that factors like humidity, thickness of the leaves, and the dryer's temperature settings can affect this. Start by setting your dryer to a low temperature, usually between 95°F to 115°F, to preserve the essential oils and flavors.
It's smart to check the herbs periodically throughout the drying process. Set a timer for every 30 minutes to remind you to peek inside and assess their progress. If you notice some herbs drying faster than others, you might want to rearrange them or remove the ones that are done.
Test for Doneness
Testing for doneness is a crucial step in the herb drying process. You want to verify your herbs are fully dried to preserve their flavor and aroma.
To check for doneness, follow these simple guidelines:
- Visual Inspection: Look for a brittle texture and vibrant color. The leaves should appear crisper and not wilted.
- Crush Test: Gently crush a few leaves between your fingers. If they crumble easily, they're likely done.
- Smell Test: Take a whiff; fully dried herbs emit a strong aroma. If they smell faint or grassy, they need more time.
- Taste Test: If you're unsure, taste a tiny bit. Properly dried herbs should have concentrated flavor without any moisture.
After completing these checks, if your herbs pass all tests, it's time to take them out of the dryer.
If they don't, return them to the dryer for additional time and repeat the tests.
Storing Dried Herbs

When it comes to storing your dried herbs, choosing the right containers is key.
You'll want to keep them in a cool, dark place to maintain their flavor and potency.
Let's explore the best storage options and locations to guarantee your herbs stay fresh for as long as possible.
Ideal Storage Containers
Choosing the right storage containers is vital for preserving the flavor and potency of your dried herbs. Proper containers can help protect your herbs from light, moisture, and air, which can degrade their quality over time.
Here are some ideal options for you to take into account:
- Glass Jars: Airtight glass jars are excellent for long-term storage. They prevent moisture and odors from affecting your herbs, and you can easily see what's inside.
- Plastic Containers: BPA-free plastic containers can be lightweight and convenient. Verify they're airtight to maintain freshness.
- Mylar Bags: These bags are great for vacuum sealing your herbs, providing a barrier against light and air. They're ideal for bulk storage.
- Tin Tie Bags: These bags allow for easy access and resealing. They're perfect for herbs you use frequently and want to keep fresh.
Whichever container you choose, make sure it's clean, dry, and free from any strong odors.
Optimal Storage Locations
Finding the right spots to store your dried herbs can make all the difference in preserving their flavor and potency. Choose a cool, dark, and dry location, such as a pantry or cupboard. Avoid areas near heat sources, like the stove or oven, as heat can degrade the herbs over time.
Light exposure is another enemy; ultraviolet rays can diminish the quality of your herbs, so opt for opaque containers or keep them in a dark place. Moisture is also essential to take into account; humidity can lead to mold growth or spoilage. Make certain your storage area remains dry and well-ventilated.
When storing, think about using airtight containers. Glass jars with tight-fitting lids work particularly well, but you can also use plastic containers designed for food storage. Always label your containers with the herb name and the date it was dried for easy identification.
Lastly, keep your herbs away from strong-smelling foods. Dried herbs can easily absorb odors, which may alter their original flavor.
Labeling and Dating
How can you confirm your dried herbs stay organized and fresh for future use? The answer lies in effective labeling and dating. When you dry your herbs, it's vital to keep track of what you've preserved and when. This simple step guarantees that you use your herbs while they're still at their best.
Here are some tips for labeling and dating your dried herbs:
- Use clear containers: Choose glass jars or airtight bags. They'll keep your herbs fresh and let you see what's inside.
- Label with details: Write the herb name, drying date, and any notes about the type or flavor profile.
- Create a system: Consider using color-coded labels for different types of herbs, so you can easily find what you need.
- Check periodically: Regularly assess your stored herbs, looking for any signs of fading or loss of potency.
Making Herbal Tea Blends
With your dried herbs neatly labeled and stored, you're ready to explore the delightful world of making herbal tea blends.
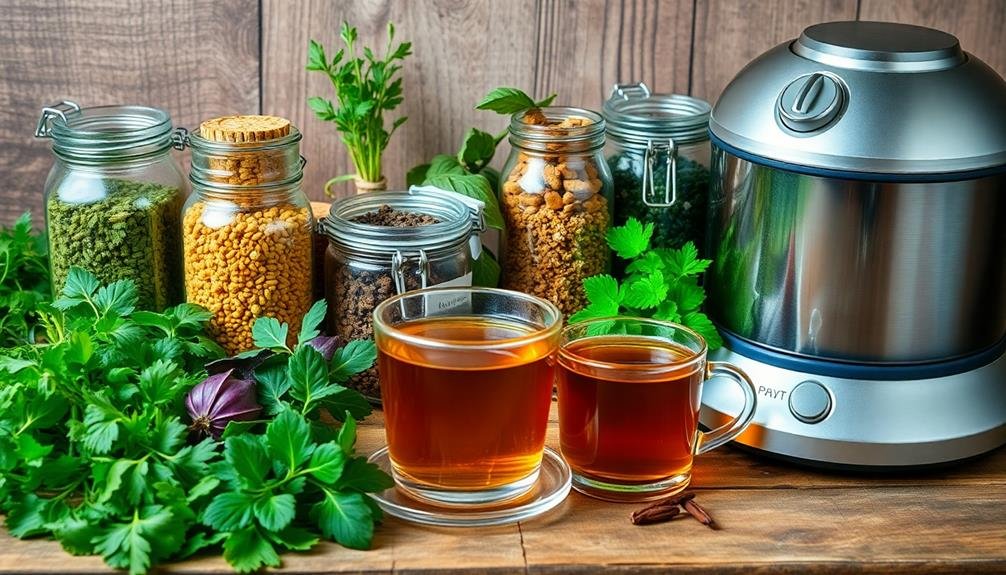
Start by selecting a base herb that will act as the primary flavor. Popular choices include chamomile, peppermint, or green tea. Once you've chosen your base, think about what additional flavors or benefits you want to add.
Next, mix in complementary herbs. For a calming blend, combine chamomile with lemon balm and lavender. If you prefer something invigorating, consider peppermint with ginger and lemon zest. To enhance the health benefits, don't forget to add herbs like echinacea for immunity or hibiscus for antioxidants.
For a balanced flavor, aim for a ratio of 2:1 for your base herb to your additional herbs. Once you've crafted your blend, steep a small amount in hot water to taste. Adjust your ratios as needed until you find a combination you love.
Tips for Long-Term Storage
To guarantee your dried herbs maintain their flavor and potency over time, it's crucial to store them properly. Start by choosing the right containers. Airtight glass jars are a great option, as they protect against moisture and light, which can degrade your herbs.
Next, keep your herbs in a cool, dark place, like a pantry or cupboard. Avoid areas with fluctuating temperatures or direct sunlight. Remember, exposure to heat and light can compromise the quality of your herbs.
Here are some tips for ideal long-term storage:
- Label your jars: Clearly mark the contents and the date you dried them.
- Avoid humidity: Make sure the jars are completely dry before filling them to prevent mold.
- Store whole herbs: If possible, keep herbs in their whole form until you're ready to use them, as this retains flavor better than crumbled herbs.
- Check periodically: Regularly inspect your herbs for any signs of spoilage or loss of potency.
Frequently Asked Questions
Can I Dry Herbs With an Electric Food Dryer in Humid Conditions?
Yes, you can dry herbs with an electric food dryer in humid conditions. Just make certain you set the temperature properly and allow for sufficient airflow. This helps prevent moisture accumulation, making sure your herbs dry effectively.
How Do I Clean My Electric Food Dryer After Use?
After using your electric food dryer, unplug it, let it cool, and disassemble the parts. Wipe down surfaces with a damp cloth and mild detergent, then rinse and dry thoroughly before reassembling for future use.
What Herbs Should I Avoid Drying With an Electric Food Dryer?
You should avoid drying delicate herbs like basil, cilantro, and parsley with an electric food dryer. Their fragile leaves can turn crisp too quickly, losing flavor and aroma. Instead, consider air-drying or using them fresh.
Can I Mix Different Herbs in the Dryer at Once?
Yes, you can mix different herbs in the dryer at once. Just make sure they have similar drying times to avoid over-drying some while under-drying others. This way, you'll achieve the best flavor and quality for all herbs.
How Long Can Dried Herbs Last if Stored Properly?
When stored properly, dried herbs can last up to two to three years. Keep them in a cool, dark place in airtight containers, and you'll maintain their flavor and potency for cooking and seasoning.
In Summary
By following these ten tips, you'll guarantee your herbs stay flavorful and potent for a long time. Choosing the right herbs and prepping them properly sets the stage for a successful drying process. Remember to monitor temperatures and drying times for best results. Once dried, store and label your herbs thoughtfully, and don't forget to experiment with herbal tea blends! With these strategies, you'll enjoy the benefits of your preserved herbs all year round.
Leave a Reply