You can easily preserve the flavor and benefits of wild herbs for tea using ten effective drying methods. Start with air drying by bundling and hanging herbs upside down in a warm, dark spot. For quicker results, try oven drying or using a dehydrator set between 95°F and 115°F. If you're short on time, microwave drying is an option, too. You can also explore fan drying, solar drying, or even the paper bag method. For a high-tech choice, consider freeze drying. Proper storage in airtight containers will keep your herbs fresh. Keep going to explore each method in detail!
Air Drying Techniques

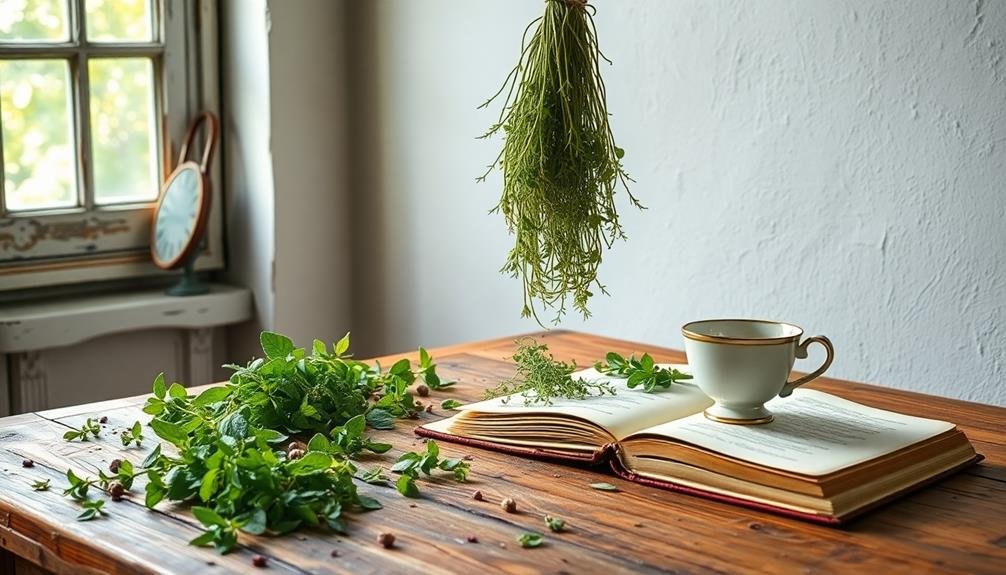
Air drying herbs is often the simplest and most accessible method for preserving their flavor and aroma. To start, choose fresh herbs that are free from pests and dirt. Rinse them under cool water, then gently pat them dry with a clean towel.
Next, gather the stems into small bundles, tying them together with string or rubber bands. This not only keeps them organized but also allows for better airflow.
Now, hang your bundles upside down in a warm, dry, and dark place. A well-ventilated area, like a kitchen or a pantry, works best. Avoid direct sunlight, as it can diminish the herbs' vibrant colors and essential oils. It's crucial to verify there's enough space between the bundles to promote airflow, helping to prevent mold.
In about one to three weeks, the herbs will become crispy and brittle. You'll know they're ready when the leaves crumble easily between your fingers.
Once dried, remove the leaves from the stems and store them in airtight containers, away from light and moisture. This way, you'll have your herbs ready to brew a delightful cup of tea whenever you want!
Oven Drying Method
When you're ready to dry your herbs quickly, the oven drying method is an efficient choice.
Start by prepping your herbs properly to guarantee they retain their flavor and aroma.
You'll also want to set your oven to the ideal temperature to get the best results.
Prepping Herbs for Drying
Preparing your herbs for drying is an essential step in guaranteeing they maintain their flavor and potency. Start by selecting fresh, healthy herbs; avoid any that show signs of wilting or pest damage. Rinse them gently under cool water to remove dirt and insects, then pat them dry with a clean towel. This helps prevent moisture from interfering with the drying process.
Next, strip the leaves from the stems, as this allows for more even drying. For larger herbs, you can leave the leaves attached to the stems, but make sure they're spaced out adequately on your drying tray. If you're working with flowers or seeds, handle them carefully to avoid bruising.
Once you've prepared the herbs, spread them out in a single layer on a baking sheet lined with parchment paper. Guarantee there's plenty of space between each herb to allow for proper air circulation. This will help the herbs dry faster and more evenly.
With your herbs prepped and arranged, you're ready to move onto the next steps in the oven drying method, guaranteeing your future teas are full of vibrant flavors.
Optimal Oven Temperature Settings
With your herbs arranged on the baking sheet, setting the right oven temperature is key to effective drying. You want to preserve the flavor and aroma without burning your precious herbs. The ideal temperature for drying herbs in the oven typically hovers around 180°F (82°C).
Here are three tips to guarantee success:
- Preheat the Oven: Always preheat your oven before placing the herbs inside. This helps maintain a consistent drying environment, essential for achieving even results.
- Monitor the Temperature: Use an oven thermometer to verify that the temperature remains steady. Oven dials can be misleading, and you want to avoid any fluctuations that might compromise your herbs.
- Check Regularly: Set a timer and check your herbs every 30 minutes. Depending on the moisture content, drying can take anywhere from 1 to 3 hours. They're done when they feel crisp and crumble easily between your fingers.
Dehydrator Usage
When you're ready to use a dehydrator for your herbs, choosing the right model is key.
You'll also want to pay attention to ideal temperature settings to guarantee your herbs dry properly without losing flavor.
Let's explore how to select the best dehydrator and set the perfect temperature.
Choosing the Right Dehydrator
Selecting the right dehydrator can make all the difference in preserving the flavor and potency of your wild herbs for tea. With a variety of options available, it's crucial to choose one that meets your needs.
Here are three key factors to take into account:
- Size and Capacity: Think about how much herbs you plan to dry at once. If you're drying in small batches, a compact dehydrator might suffice. For larger harvests, a larger model with multiple trays can save you time and effort.
- Temperature Control: Look for a dehydrator with adjustable temperature settings. This feature allows you to fine-tune the drying process according to the specific herbs you're working with, which can help maintain their essential oils and flavors.
- Fan Placement: Consider dehydrators with a rear or side fan. This design promotes even airflow, ensuring that all your herbs dry uniformly and reducing the risk of mold.
Optimal Temperature Settings
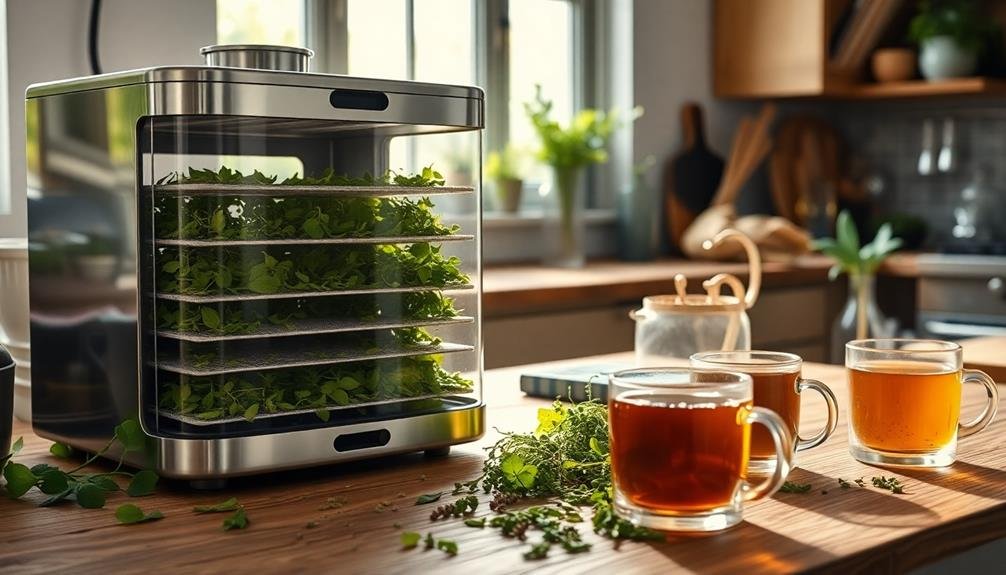
The ideal temperature settings for drying wild herbs in a dehydrator play a critical role in preserving their flavor and medicinal properties. You'll want to maintain temperatures that are high enough to remove moisture but low enough to keep the delicate oils intact. Typically, the best range is between 95°F to 115°F.
Here's a quick reference table to help you choose the right temperature for various herbs:
| Herb | Best Temperature (°F) | Drying Time (Hours) |
|---|---|---|
| Basil | 95-105 | 4-6 |
| Oregano | 95-115 | 4-8 |
| Thyme | 95-105 | 4-6 |
| Mint | 95-105 | 2-4 |
| Chamomile | 95-100 | 2-3 |
Microwave Drying Tips
How can you quickly dry wild herbs without losing their flavor? Using a microwave is an efficient method that preserves the essence of your herbs. Here's how to do it effectively:
- Prepare the Herbs: Start by washing your herbs gently to remove any dirt. Pat them dry with a paper towel. Trim any thick stems, as they'll take longer to dry.
- Use a Microwave-Safe Plate: Spread the herbs in a single layer on a microwave-safe plate. To prevent uneven drying, avoid overlapping the leaves. It's best to use a paper towel underneath to absorb moisture.
- Microwave in Intervals: Set your microwave to low power and heat the herbs for 30 seconds at a time. Check them after each interval. Depending on the moisture content, it may take 1 to 3 minutes.
You'll know they're done when they're crisp and crumble easily.
Microwave drying is a quick solution that helps retain the vibrant flavors of wild herbs. Just remember to stay attentive and adjust the timing based on the specific herbs you're using!
Hanging Bundles
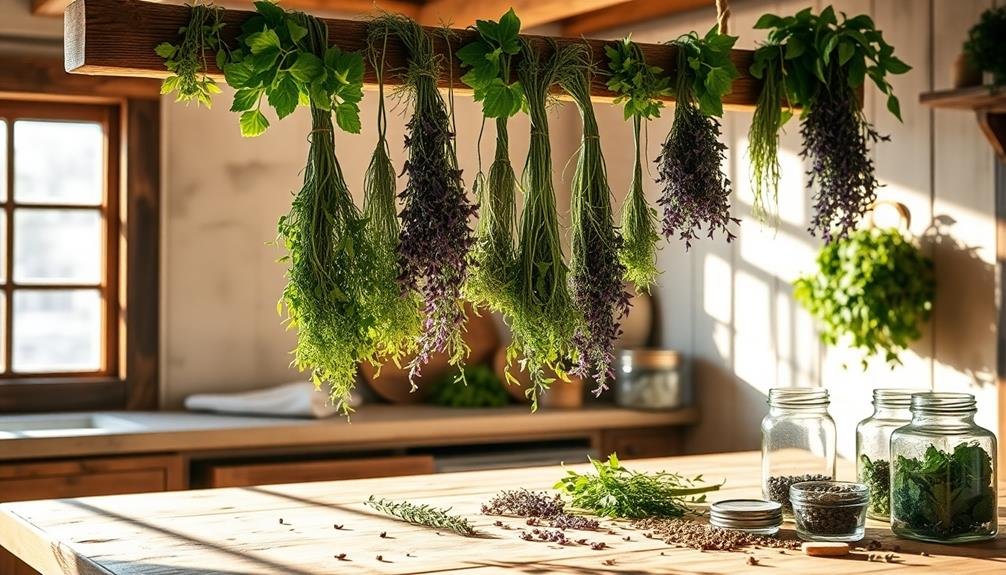
If you prefer a more traditional approach to drying wild herbs, hanging bundles is a great method that allows for air circulation and gradual drying.
To get started, gather your freshly picked herbs and gently clean them to remove any dirt or insects. You should aim for herbs that are still vibrant and healthy, as these will dry more effectively.
Next, take a handful of herbs and tie them together at the stems with twine or string. Make sure the bundle isn't too thick; a smaller bundle promotes better airflow and prevents mold.
Hang your bundles upside down in a warm, dry, and dark place with good ventilation, like a pantry or a shed.
Check the herbs every few days. Depending on the humidity and temperature, they may take anywhere from a week to several weeks to dry completely. You'll know they're ready when the leaves crumble easily between your fingers.
Once dried, store the herbs in airtight containers away from light and moisture. This method not only preserves the flavor and aroma but also adds a rustic touch to your herb collection.
Enjoy your homemade tea from your carefully dried herbs!
Using a Fan
For quicker drying of wild herbs, using a fan can be an effective method that speeds up the process while maintaining quality. This approach helps circulate air around your herbs, reducing moisture content without compromising flavor or aroma.
Here's how you can make the most of this technique:
- Prepare Your Herbs: Start by rinsing your herbs to remove any dirt. Pat them dry gently with a clean towel. This step is essential, as excess moisture can hinder the drying process.
- Set Up Your Fan: Place your herbs in a single layer on a clean, flat surface like a drying rack or a baking sheet. Position your fan nearby, ensuring it's blowing air directly over the herbs. Make sure the fan isn't too close to avoid blowing the herbs off the surface.
- Monitor the Drying Process: Check your herbs every hour or so. Depending on the moisture content and the strength of your fan, drying can take anywhere from a few hours to a full day. Once they're crispy, store them in airtight containers.
Using a fan offers a simple and effective way to dry your wild herbs efficiently.
Solar Drying

Another effective method for drying wild herbs is solar drying, which harnesses the sun's natural heat and energy. This technique is both eco-friendly and cost-effective, making it a great choice for anyone looking to preserve herbs for tea.
To start, gather your freshly picked herbs and rinse them gently to remove any dirt or insects.
Next, you'll want to lay the herbs out in a single layer on a clean, dry surface. A mesh screen, drying rack, or a clean, white cloth works well for this purpose. Ascertain the herbs aren't overcrowded; you need good air circulation for even drying.
Place your setup in a sunny spot, preferably outdoors, where it can receive direct sunlight for most of the day.
Monitor the herbs as they dry, usually taking a few hours to a couple of days, depending on the humidity and temperature. Once they're crispy and crumble easily between your fingers, they're ready to store.
Store the dried herbs in airtight containers, away from light and moisture, to maintain their flavor and potency for your future tea brews. Enjoy the natural goodness you've preserved!
Paper Bag Method
The paper bag method is a simple and effective way to dry wild herbs while preserving their essential oils and flavors. This technique allows for proper airflow while keeping the herbs protected from dust and light, which can degrade their quality.
To get started, follow these easy steps:
- Harvest the Herbs: Choose herbs that are fresh and free from pests. Gather them in small bunches, and make sure to remove any damaged leaves.
- Prepare the Paper Bag: Use a brown paper bag—avoid plastic. Place the herbs inside the bag without overcrowding, allowing space for air circulation. You can also punch a few holes in the bag for added ventilation.
- Hang or Store: Hang the bag in a cool, dark place or place it on a shelf. Leave it undisturbed for about 1-2 weeks. Check periodically to ascertain they're drying properly.
Once your herbs feel crisp, you can remove them from the bag and store them in airtight containers.
This method not only simplifies the drying process but also retains the vibrant essence of your wild herbs, making for delightful herbal teas!
Freeze Drying
While the paper bag method is great for drying herbs at home, freeze drying offers a high-tech alternative that preserves even more of the herbs' flavor and nutrients. This method involves freezing your herbs quickly and then reducing the surrounding pressure to allow the ice to sublimate directly from solid to gas.
You won't lose valuable compounds during this process, unlike traditional drying methods.
If you're considering freeze drying, you'll need specialized equipment, like a freeze dryer. While this might seem like a big investment, the quality of the dried herbs is often worth it. The resulting herbs maintain their vibrant colors, original aroma, and essential oils, making them perfect for tea.
Moreover, freeze-dried herbs have a long shelf life without needing preservatives. When you're ready to brew your tea, simply rehydrate them with hot water, and you'll notice that they retain much of their original taste and potency.
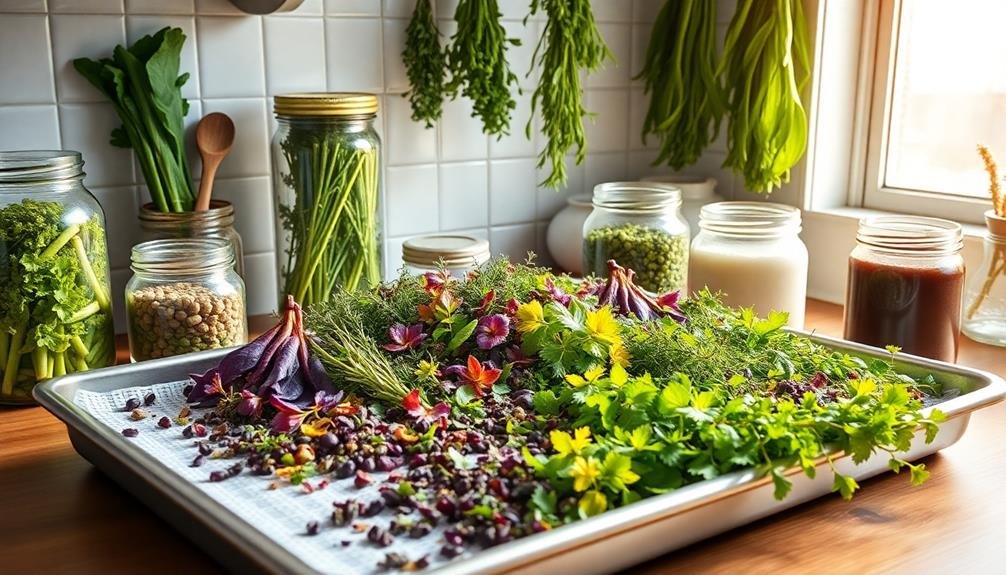
Jar Storage Solutions
Storing your dried wild herbs in jars is an effective way to maintain their freshness and flavor. Choosing the right jars and implementing proper storage techniques can make all the difference in preserving your herbs for tea. Here are three key tips to weigh:
- Use airtight containers: Select glass jars with tight-sealing lids to keep moisture and air out. This prevents your herbs from losing potency and developing a stale taste.
- Keep them in a cool, dark place: Exposure to light and heat can degrade the quality of your herbs. Store your jars in a pantry or cupboard away from direct sunlight and heat sources, ensuring they stay fresh longer.
- Label your jars: Clearly labeling each jar with the herb name and date of drying helps you keep track of freshness. This way, you can enjoy your tea blends at their peak flavor.
Frequently Asked Questions
What Are the Best Herbs for Tea Drying?
When you're considering the best herbs for tea drying, think about chamomile, peppermint, and lemon balm. These herbs retain their flavor and aroma well, making your dried tea both delightful and fragrant. Enjoy experimenting!
How Do I Know When Herbs Are Fully Dried?
You'll know herbs are fully dried when they feel crisp and crumble easily between your fingers. Check the stems; they should snap instead of bending. If they're still pliable, they need more drying time.
Can I Mix Different Herbs for Drying?
Yes, you can mix different herbs for drying, but make certain they have similar drying times. This way, you'll achieve consistent dryness and flavor. Experimenting with combinations can also enhance your herbal tea experience!
Is It Safe to Dry Herbs Outdoors?
Yes, it's safe to dry herbs outdoors, but make sure you choose a clean, dry spot. Protect them from pests and direct sunlight to preserve flavor and color, ensuring a successful drying process.
How Long Do Dried Herbs Last in Storage?
Dried herbs can last anywhere from six months to two years in storage, depending on how you store 'em. Keep 'em in a cool, dark place in airtight containers to maximize their shelf life.
In Summary
To sum up, drying wild herbs for tea can be both simple and rewarding. Whether you choose air drying, oven drying, or any of the other methods, each technique has its own benefits. Experiment with different methods to find what works best for you. Once dried, store your herbs properly to maintain their flavor and potency. Enjoy the process and the delightful herbal teas you'll create from your own homegrown treasures!

Leave a Reply