To hang and dry herbs indoors, start by selecting fresh, vibrant herbs like basil or thyme. Clean them well and pat dry. Gather similar types into bundles about 4 to 6 inches in diameter, tying them securely with string or twine. Hang these bundles upside down in a cool, dark, and well-ventilated area to allow moisture to escape effectively. Monitor their drying progress by checking for a crisp texture and strong aroma. Once dried, store them in airtight containers to maintain flavor. There's more to explore about preserving your harvest for the best culinary uses.
Select Fresh Herbs

When you're ready to hang and dry herbs indoors, the first step is to select fresh herbs that are vibrant and fragrant. Look for herbs like basil, thyme, rosemary, and mint, ensuring they haven't started to wilt or yellow. Inspect the leaves closely; they should be free from spots, pests, or any signs of decay.
Snip the herbs in the morning after the dew has dried but before the sun's heat intensifies. This timing helps preserve their essential oils, resulting in a more robust flavor. Gather a handful of stems, ideally 5-10, as this makes them easier to manage during the drying process.
As you choose your herbs, think about how you plan to use them later. If you're looking for culinary herbs, select those that you frequently cook with. If you're after medicinal properties, pick the ones known for their health benefits.
Prepare Your Work Area
Before you start hanging your herbs, gather all the supplies you'll need, like string, scissors, and a suitable container.
Make sure you choose a location with good air circulation and low humidity to help your herbs dry properly.
Setting up your work area efficiently will make the process smoother and more enjoyable.
Gather Necessary Supplies
To successfully hang and dry herbs indoors, you'll need to gather a few essential supplies and prepare your work area. First, grab some sturdy string, twine, or raffia to tie your herbs. These materials will support your herbs as they dry, so make sure they're strong enough to hold the weight.
You'll also need scissors for cutting the herbs and trimming the twine to your desired length.
Next, collect small paper bags or cloth sachets to protect your herbs from dust while they're drying. These bags can help preserve the flavor and aroma, preventing loss during the drying process. A pair of garden shears can also come in handy if you have larger herbs to harvest.
Finally, consider getting a marker or labels to help you identify the different herbs once they're dried. This organization will save you time later.
Once you have everything in place, you'll be ready to move on to the next steps of hanging and drying your herbs. Having these supplies on hand will make the process smooth and efficient, allowing you to enjoy your herbs for months to come.
Choose a Suitable Location
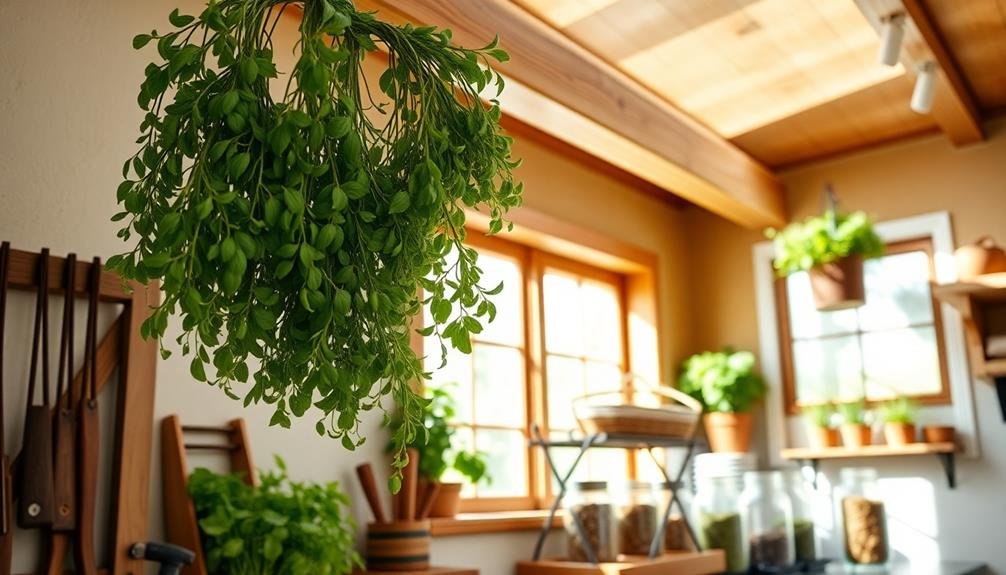
Choosing a suitable location for drying your herbs is essential, as it can greatly impact their flavor and aroma. Start by finding a spot that's cool, dark, and well-ventilated. Avoid areas with direct sunlight, as UV rays can degrade the essential oils in your herbs, leading to a loss of potency.
A pantry, closet, or any room with good airflow works well. You want to guarantee that moisture can escape, so avoid damp areas like basements. If you're using a kitchen, choose a corner away from the stove to prevent heat and humidity from interfering with the drying process.
Next, make certain the area is clean. Dust and debris can compromise the quality of your herbs. It's also a good idea to have a clean surface or hooks ready for hanging.
If you have a fan, position it nearby to facilitate air circulation.
Clean the Herbs
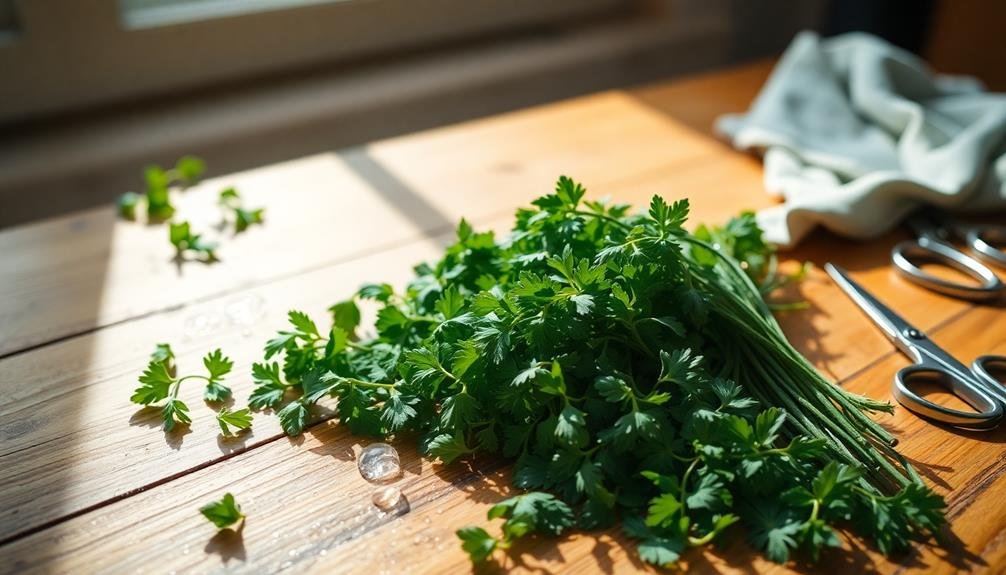
Once you've gathered your herbs, it's essential to clean them thoroughly to remove any dirt or pests. Start by rinsing the herbs under cool running water. Gently shake them to dislodge any soil, ensuring you get into the crevices of the leaves. Be careful not to bruise the herbs; a gentle touch goes a long way.
After rinsing, you'll want to soak them in a bowl of water mixed with a splash of white vinegar. This step helps to eliminate any lingering pests and pesticides. Let the herbs soak for about five to ten minutes, then rinse them again under cool water to wash away the vinegar solution.
Next, lay the herbs out on a clean kitchen towel or paper towel. Pat them dry gently, removing excess moisture while ensuring the leaves remain intact.
If you're in a hurry, you can also use a salad spinner to remove water efficiently.
Bundle the Herbs
After cleaning your herbs, it's time to bundle them together for drying. Start by gathering a handful of herbs, making certain they're similar in type and moisture level. This guarantees even drying and prevents spoilage. Aim for a bundle that's about 4 to 6 inches in diameter—too large mightn't dry properly, while too small could get lost.
Once you've selected your herbs, align the stems so they're straight and even. Hold the stems together with one hand, and use your other hand to tie them securely. Twine, string, or rubber bands work well for this. Be sure to leave enough stem length for hanging.
If you want to get creative, you can add a few decorative elements like dried flowers or ribbons to your bundles. This can make your drying herbs not just functional but also a beautiful addition to your space.
Once you've tied your bundles, you're ready to move on to your chosen drying method. Remember, the way you bundle your herbs plays an essential role in how they'll dry, so take your time to do it right!
Choose Drying Method

When it comes to drying herbs indoors, selecting the right method can make a significant difference in flavor and aroma. You've got a few options to choose from, each with its own benefits.
One popular method is air drying, which requires minimal equipment. You simply hang your bundled herbs in a cool, dry, and dark place with good airflow. This method preserves the essential oils, leading to robust flavors.
If you're short on time or space, consider using a dehydrator. This device allows you to control the temperature, ensuring a quicker and more efficient drying process. Just set it to the appropriate temperature for herbs and let it work its magic.
Another option is using your oven. Set it to the lowest temperature, spread the herbs on a baking sheet, and keep the door slightly ajar to allow moisture to escape. However, watch them closely to prevent burning.
Lastly, you might opt for microwave drying. Place the herbs between paper towels and microwave in short intervals. This method is fast, but it can lead to uneven drying, so be cautious.
Choose the method that best fits your needs and available resources. Happy drying!
Hang the Bundles
With your chosen drying method in mind, it's time to hang those herb bundles. First, gather your herbs and tie them into small bundles using string or twine. Make sure the bundles aren't too thick, as this can impede airflow and lead to mold. Aim for about five to ten stems per bundle.
Next, find a suitable location to hang your herbs. Choose a spot that's dark, dry, and well-ventilated. You can use hooks, nails, or even a clothesline to hang your bundles upside down. This position allows the moisture to escape effectively, preserving the herbs' flavor and aroma.
Here's a quick reference table to help you choose the right herbs for hanging:
| Herb | Ideal Bundle Size | Drying Time |
|---|---|---|
| Basil | 5-10 stems | 1-2 weeks |
| Thyme | 5-10 stems | 1-2 weeks |
| Oregano | 5-10 stems | 1-2 weeks |
| Rosemary | 5-10 stems | 1-2 weeks |
| Sage | 5-10 stems | 1-2 weeks |
Now that you've hung the bundles, you're on your way to enjoying your dried herbs!
Monitor Drying Process
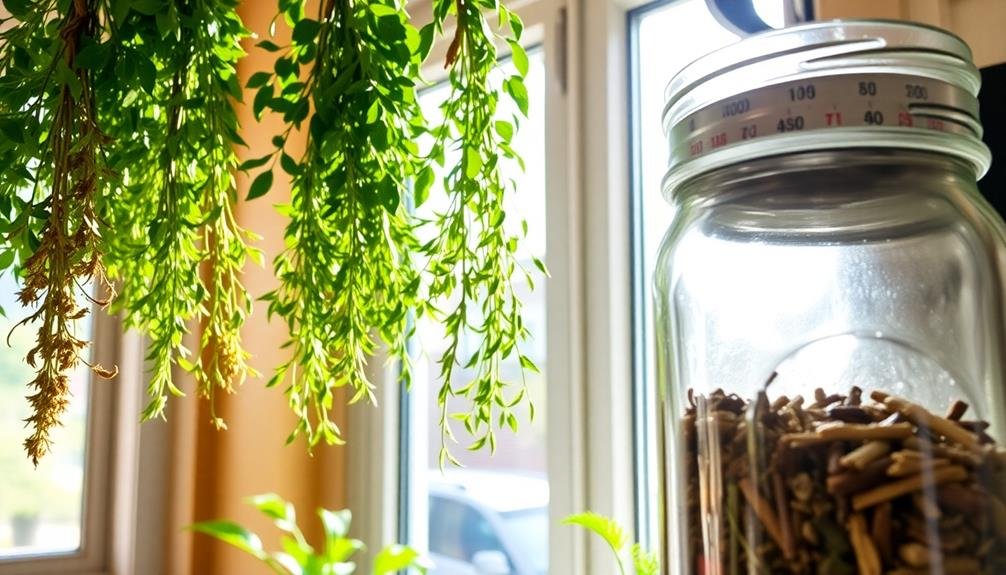
Monitoring the drying process is essential to guaranteeing your herbs maintain their flavor and potency. Check your herbs every few days to assess their progress. Look for signs that they're drying properly, such as a crisp texture and a strong aroma. If you notice any moisture or if the leaves feel soft, they need more time to dry.
Temperature and humidity in your drying environment play vital roles. Ideally, you want a well-ventilated area with low humidity. If the air is too damp, consider using a dehumidifier or moving your bundles to a drier location.
Keeping a consistent temperature will help speed up the drying process, so avoid placing them near heat sources or in direct sunlight, as this can diminish their quality.
Once the herbs feel dry, give them a gentle squeeze. If they crumble easily under slight pressure, they're ready. If they're still pliable, continue monitoring them closely.
Be patient—rushing the process can lead to mold growth or loss of flavor. By keeping a close eye on your herbs, you'll guarantee they dry perfectly, ready for your culinary adventures ahead.
Store Dried Herbs
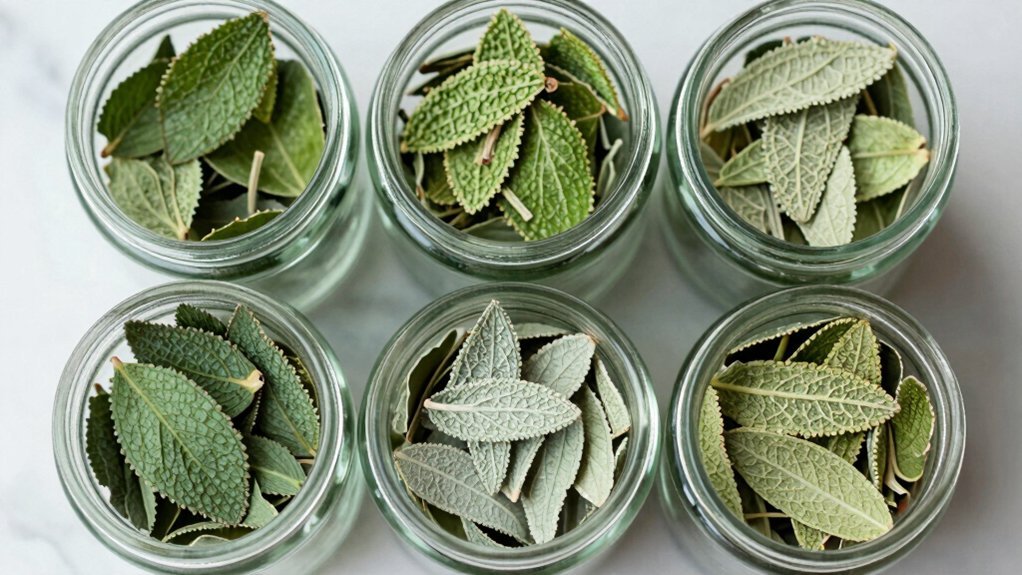
Once your herbs are dried, it's essential to store them properly to maintain their flavor and potency.
You'll want to choose the best storage containers, like glass jars or airtight bags, and keep them in ideal conditions—cool, dark, and dry.
This way, you can enjoy your homegrown herbs for months to come.
Best Storage Containers
Choosing the right storage container is essential for keeping your dried herbs fresh and flavorful. You want to prevent moisture, light, and air from degrading their quality. Here are some excellent options you can consider:
| Container Type | Pros |
|---|---|
| Glass Jars | Airtight, non-reactive; great for visibility. |
| Plastic Containers | Lightweight, often stackable; budget-friendly. |
| Metal Tins | Durable, light-blocking; good for long-term storage. |
| Cloth Bags | Breathable; ideal for short-term use and travel. |
When selecting a container, think about how you'll use the herbs. Glass jars are perfect for displaying your dried collection, while plastic containers are great for everyday use. Metal tins are excellent for long-term storage, helping to keep light out. Finally, cloth bags are handy if you need something portable.
Regardless of your choice, make sure your containers are clean and dry before filling them with herbs. This small step will go a long way in preserving their flavor and aroma. Happy storing!
Ideal Storage Conditions
To keep your dried herbs at their best, it's crucial to store them in ideal conditions. First, make sure to choose a cool, dark place for storage. Light can degrade the potency and flavor of your herbs, so opt for a pantry or a cupboard away from direct sunlight.
Next, control the temperature and humidity. Ideally, you want to keep your herbs in an environment that's around 60°F (15°C) and away from moisture. Excess humidity can lead to mold growth, ruining your herbs.
Use airtight containers to minimize air exposure, as oxygen can also degrade the quality of dried herbs. Glass jars with tight-fitting lids work well, but if you're using plastic, verify they're food-grade and BPA-free.
Lastly, label your containers with the herb name and the date of drying. This way, you'll keep track of freshness and know when to replace them.
Create Herbal Tea Blends
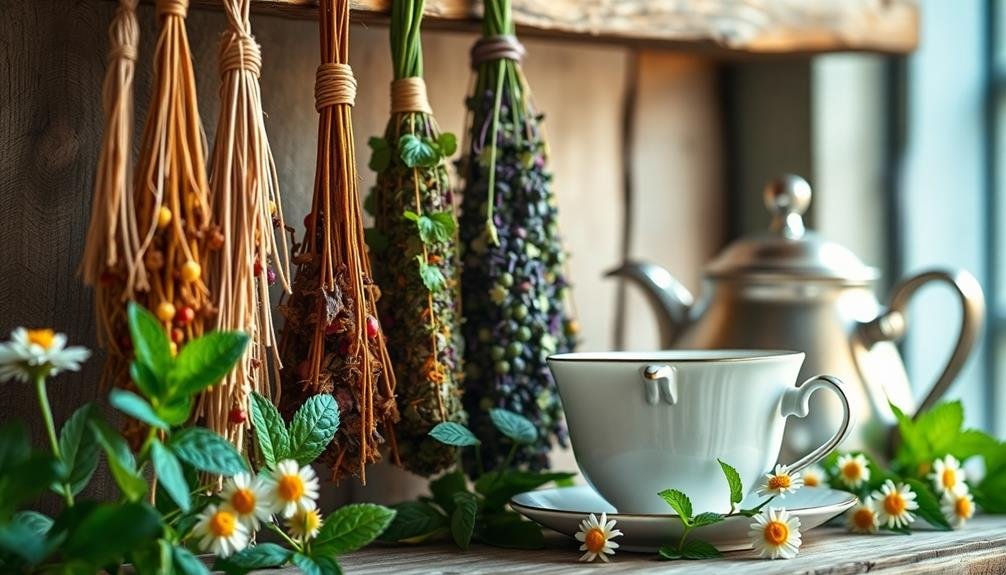
Creating herbal tea blends can be a delightful and rewarding experience. You get to combine different dried herbs to craft unique flavors that suit your taste and needs.
Start by selecting your favorite dried herbs, taking into account their aroma, flavor, and health benefits. Here are some popular herbs to reflect on for your blends:
- Chamomile: Great for relaxation and sleep.
- Peppermint: Invigorating and aids digestion.
- Lavender: Soothing and helps with anxiety.
- Lemon balm: Uplifting and supports mood.
- Hibiscus: Tart and rich in antioxidants.
Once you've chosen your herbs, experiment by mixing small amounts in a bowl. You can adjust the ratios until you find a blend that you love.
Keep in mind that some herbs have stronger flavors than others, so start with smaller quantities of those. When you're satisfied with your blend, store it in an airtight container away from light and moisture.
To brew your herbal tea, steep about one teaspoon of your blend in hot water for 5 to 10 minutes. Enjoy your custom creation and feel proud of your unique herbal tea blend!
Frequently Asked Questions
Can I Dry Herbs in a Humid Environment?
You can dry herbs in a humid environment, but it's tricky. Humidity can slow down the drying process and promote mold growth. Consider using a dehydrator or an air-conditioned room for better results.
How Long Do Dried Herbs Last?
Dried herbs can last up to three years if stored properly in a cool, dark place. You'll want to keep them in airtight containers to maintain their flavor and potency for as long as possible.
What's the Best Time to Harvest Herbs?
The best time to harvest herbs is just before they bloom. You'll capture maximum flavor and potency. Early morning, after the dew has dried, is ideal for preserving their essential oils and freshness.
Can I Mix Different Herbs in One Bundle?
Yes, you can mix different herbs in one bundle! Just make sure they have similar drying times and moisture levels. This way, your herbs will dry evenly and maintain their flavors. Enjoy your herbal creations!
Are There Any Safety Concerns With Drying Herbs Indoors?
When drying herbs indoors, you should guarantee proper ventilation to prevent mold growth. Avoid using herbs that may have pesticide residues, and always check for any allergens. Keeping everything clean minimizes risks during the drying process.
In Summary
Now that you've successfully hung and dried your herbs, you can enjoy their vibrant flavors and aromas all year round. Remember to store them in airtight containers to keep them fresh. Whether you're adding them to your favorite dishes or creating unique herbal tea blends, your homegrown herbs will elevate your culinary creations. So get creative in the kitchen and savor the satisfaction of using your own dried herbs! Happy cooking!
Leave a Reply