You can craft your perfect herbal tea from your garden by choosing the right herbs that match your taste and desired benefits. Harvest them at the ideal time, preferably in the morning, to preserve their essential oils. Gently rinse, dry, and prepare your herbs before drying them using air drying or a dehydrator. Once dried, create unique blends by balancing strong flavors with milder ones. When brewing, use one tablespoon per cup and steep for 5 to 10 minutes. Each step enhances your tea experience, and there's so much more you can discover to elevate your herbal tea game.
Choosing the Right Herbs
When it comes to choosing the right herbs for your herbal tea, a little knowledge goes a long way. Start by considering what flavors you enjoy. Do you prefer something floral, earthy, or spicy? Herbs like chamomile offer a sweet, floral note, while peppermint brings a revitalizing kick.
Think about the benefits you want, too. For relaxation, you might choose lavender or lemon balm, whereas ginger can help with digestion.
Next, consider the seasonality of herbs. Some herbs thrive in summer, while others are best harvested in cooler months. Fresh herbs pack a stronger flavor punch, but dried herbs can be just as effective and are often more convenient.
Don't forget to check if the herbs you choose are safe to consume, especially if you're pregnant or have allergies.
Experiment with blending different herbs to find your ideal flavor profile. Start with small amounts and adjust based on your taste.
Remember, crafting herbal tea is all about personal preference, so let your palate guide you. With a little exploration, you'll create a delightful brew that not only tastes good but also meets your needs.
Happy brewing!
Best Time to Harvest
When you're ready to harvest your herbs, timing is everything.
Consider the ideal seasons, the best time of day, and how weather conditions can affect your yield.
Each factor plays an essential role in ensuring you get the most flavorful and potent herbs for your tea.
Optimal Harvesting Seasons
Timing is essential for harvesting herbs destined for your herbal tea blends. Each herb has its peak growing season, and understanding this can greatly enhance the flavor and potency of your brews. Generally, most herbs thrive in the warmer months, from spring to early fall.
For instance, basil and mint flourish during the summer, making July and August the ideal months for harvesting. Conversely, chamomile is best picked in late spring to early summer, when its flowers are in full bloom. You'll want to pay attention to the specific needs of each herb you grow.
Some herbs, like rosemary and thyme, can be harvested year-round, but their flavor is often at its best in the cooler seasons. Conversely, delicate herbs such as cilantro are best enjoyed fresh from the garden in the spring and fall.
Time of Day
The freshness of your herbal tea begins with the right time of day for harvesting. To guarantee the best flavor and potency, you'll want to pick your herbs at specific times. The ideal moment is usually in the morning after the dew has dried but before the sun is too hot. This timing helps preserve the essential oils that contribute to the aroma and taste of your tea.
Here are three key points to remember when harvesting:
- Morning Harvest: Aim to gather your herbs between 8 AM and 10 AM. The plants are fully hydrated, and the essential oils are at their peak concentration.
- Avoid Afternoon Sun: Don't harvest during the hottest part of the day (around noon to 3 PM). The heat can diminish the oils and lead to a less flavorful tea.
- Watch for Evening Coolness: If you're harvesting for drying, consider the evening around 5 PM to 7 PM. The cooler temperatures help preserve the herbs' freshness before drying.
Weather Conditions Impact
Weather conditions play an essential role in determining the best time to harvest your herbs for tea. Understanding how temperature, humidity, and sunlight affect your plants can make a significant difference in flavor and potency. Generally, you should aim to harvest on a dry day when the plants are free from moisture. This helps prevent mold and guarantees that you capture the best oils from the leaves.
Here's a quick guide to help you decide when to harvest:
| Weather Condition | Best Time to Harvest |
|---|---|
| Sunny and Dry | Morning before noon |
| Overcast | Late morning to noon |
| Rainy | Avoid harvesting |
| Humid | Early morning |
Harvesting Techniques
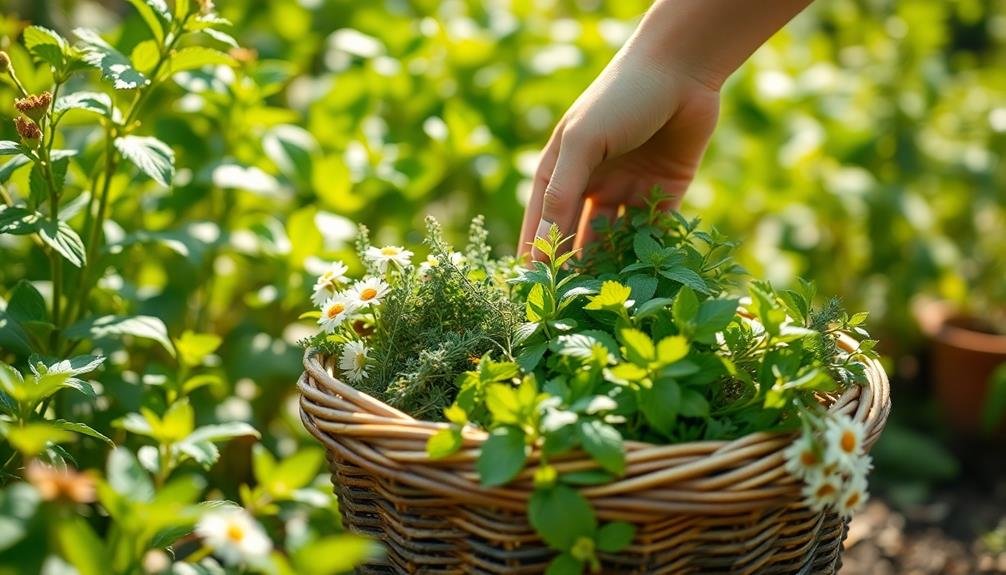
When you're ready to harvest your herbal tea plants, knowing the right techniques can make all the difference. Proper harvesting guarantees the best flavor and potency in your brews.
Here are three key techniques to keep in mind:
- Timing is Everything: Harvest in the morning after the dew has dried but before the sun is too strong. This timing helps preserve the essential oils and flavors in your herbs.
- Use Sharp Tools: Always use clean, sharp scissors or shears. This minimizes damage to the plant and prevents the spread of disease. Make precise cuts to encourage healthy regrowth.
- Selectively Harvest: Instead of cutting the entire plant, focus on picking the top third of the stems. This encourages bushier growth and allows the plant to continue producing throughout the season.
Preparing Your Herbs
After you've harvested your herbs, it's essential to prepare them properly to guarantee maximum flavor in your herbal tea. Start by rinsing your herbs gently under cool water to remove any dirt or insects.
Pat them dry with a clean towel, as excess moisture can affect the drying process and flavor.
Next, you'll want to remove any damaged or wilted leaves. This step guarantees that only the freshest parts make it into your tea.
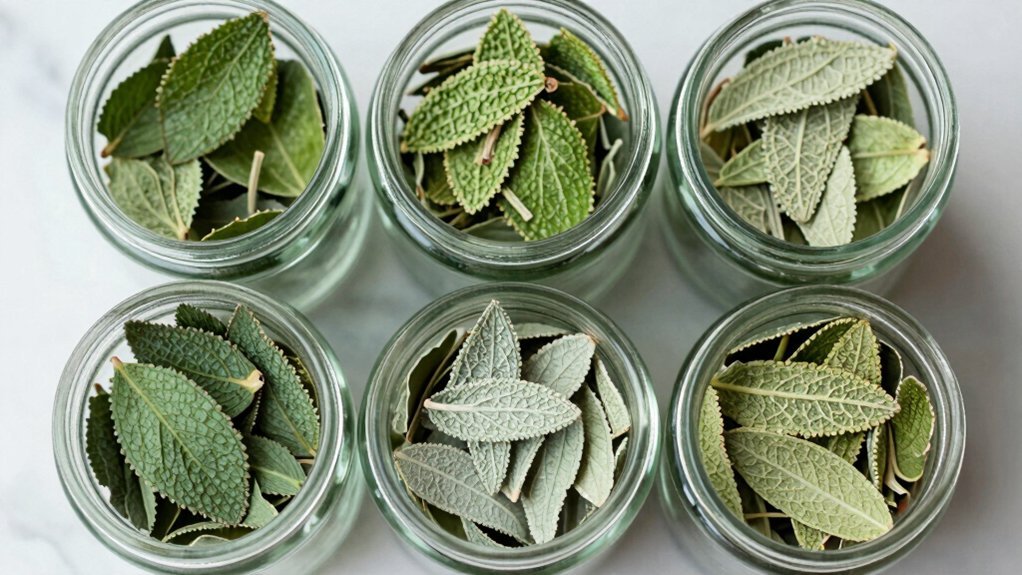
If you're using larger herbs like mint or sage, consider tearing or chopping them into smaller pieces. This increases the surface area, releasing more essential oils and flavors during steeping.
For herbs like chamomile or lavender, you can simply separate the flowers from the stems.
Keep in mind that different herbs have distinct flavor profiles, so experiment with combinations that suit your taste.
Once you've prepared your herbs, you're ready to move on to the next steps in crafting your perfect herbal tea.
Proper preparation sets the foundation for a delicious cup, so take your time to enjoy this part of the process.
Your taste buds will thank you later!
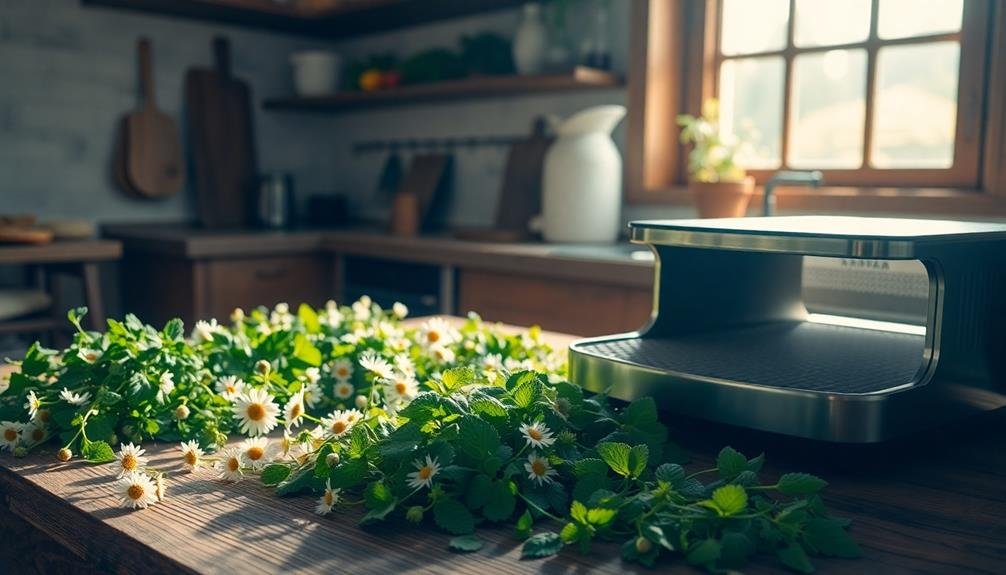
Drying Methods Explained

When it comes to drying your herbs, you've got a couple of effective options to contemplate.
Air drying is a simple method that requires minimal equipment, while using a dehydrator can speed up the process and preserve more flavor.
Let's explore both techniques to find what works best for you.
Air Drying Techniques
Air drying is a simple yet effective method for preserving the vibrant flavors and aromas of herbs in your herbal tea crafting. This technique allows you to maintain the natural qualities of your herbs without the need for complicated equipment. Here's how to get started:
- Choose Quality Herbs: Select fresh, healthy herbs. The best time to harvest is in the morning after the dew has dried.
- Prepare for Drying: Remove any damaged leaves and rinse your herbs gently to eliminate dirt or pests. Pat them dry with a paper towel to prevent mold during drying.
- Hang or Spread: You can either tie small bundles of herbs and hang them upside down in a dark, dry, and well-ventilated area, or spread individual leaves on a clean, dry surface like a baking sheet. Guarantee there's enough space between the herbs for air circulation.
Keep an eye on them; the drying process can take several days.
Once the herbs are crispy and crumbly, they're ready to be stored in airtight containers for your future herbal tea blends. Enjoy the delightful flavors you've preserved!
Dehydrator Advantages
While air drying is a popular method for preserving herbs, using a dehydrator offers distinct advantages that can enhance your herbal tea crafting experience.
First, a dehydrator allows for consistent and controlled drying temperatures, which helps maintain the flavor and aroma of your herbs. Unlike air drying, where environmental factors can affect the process, a dehydrator guarantees uniformity, preventing some herbs from drying too quickly or unevenly.
Moreover, dehydrators often reduce the drying time considerably. This means you can enjoy your freshly dried herbs sooner, allowing you to experiment with blends and flavors without lengthy waits. With a dehydrator, you can also process larger quantities at once, making it easier to stock up on your favorite herbal ingredients.
Another perk is the minimized risk of mold and spoilage. Dehydrators effectively remove moisture, which is vital for preserving your herbs' quality.
Air Drying vs. Oven Drying
Choosing the right method for drying herbs can greatly impact the flavor and potency of your herbal tea.
Two popular methods are air drying and oven drying, and each has its unique advantages.
Air drying is a gentle process that preserves the essential oils and flavors of your herbs. You simply hang your herbs in a warm, dry, and dark place. This method may take longer, but it allows for a more natural drying process.
On the other hand, oven drying is quicker and can be more convenient. By using a low-temperature setting, you can dry your herbs in just a few hours. However, be cautious! If the temperature is too high, you might lose some of the delicate flavors and oils.
Here are three key points to take into account when deciding between air drying and oven drying:
- Flavor Preservation: Air drying retains more essential oils.
- Time: Oven drying is faster, perfect for impatient tea lovers.
- Convenience: Choose oven drying if you have limited space or humidity control.
Ultimately, your choice depends on your priorities—flavor or speed.
Using a Dehydrator
If you're looking for a reliable and efficient way to dry herbs for your herbal tea, using a dehydrator might be your best bet. This method preserves flavor and potency while minimizing the risk of mold.
Start by washing your freshly picked herbs to remove any dirt or pests. Pat them dry gently with a clean towel to guarantee they're moisture-free before placing them in the dehydrator.
Set your dehydrator to the appropriate temperature, usually between 95°F and 115°F, depending on the herb type. Arrange the herbs in a single layer on the trays, allowing for adequate airflow. Avoid overcrowding, as this can lead to uneven drying.
Check your herbs periodically; most will be ready in a few hours, but denser herbs might take longer. Once they're fully dried, you'll know they're ready when they crumble easily between your fingers.
This method retains essential oils, resulting in vibrant flavors for your tea. Using a dehydrator not only speeds up the drying process but also guarantees consistent results.
Storing Dried Herbs
When you store dried herbs, choosing the right containers is essential for maintaining freshness.
Keep them in a cool, dry place with ideal temperature and humidity to extend their shelf life.
Understanding these guidelines will help you preserve the flavors and benefits of your herbal treasures.
Ideal Storage Containers
The right storage containers can make a significant difference in preserving your dried herbs' flavor and potency. When you choose the right container, you're ensuring that your hard work in the garden translates into delicious herbal tea.
Here are three ideal storage options to take into account:
- Glass Jars: Opt for dark-colored glass jars, like amber or cobalt, to protect your herbs from light exposure. These jars are airtight, helping to maintain freshness.
- Metal Tins: Metal tins, especially those with a tight-sealing lid, are excellent for keeping moisture and air out. Look for food-grade materials to avoid any chemical reactions.
- Vacuum-Sealed Bags: If you want to save space, vacuum-sealed bags are a fantastic option. They eliminate air, reducing the chances of oxidation and prolonging shelf life.
Just make sure to use them in a cool, dark place.
Optimal Temperature and Humidity
To guarantee your dried herbs retain their flavor and potency, maintaining the right temperature and humidity is vital. Ideally, you should store your herbs in a cool, dark place away from direct sunlight. A temperature range of 60°F to 70°F is perfect for keeping those delicate flavors intact.
If your kitchen tends to get warm, consider using a pantry or a cupboard as your herb storage spot.
Humidity plays a significant role too. Too much moisture can lead to mold growth, while too little can dry your herbs out completely. Aim for low humidity levels, ideally below 60%. Using airtight containers can help control humidity, as they prevent moisture from seeping in.
Avoid storing your herbs in places like above the stove or near the sink, where humidity levels fluctuate.
Also, be cautious with your storage choices. While glass jars work great, make sure they're not exposed to light. If you prefer plastic, make sure it's food-grade and opaque.
Shelf Life Guidelines
Properly stored dried herbs can last for quite a while, but understanding their shelf life is crucial for maintaining their flavor and potency. When you harvest and dry your herbs, the way you store them directly impacts how long they'll remain fresh. Here are some guidelines to help you keep your dried herbs in prime shape:
- Storage Container: Use airtight containers made of glass or dark plastic. This keeps moisture out and light exposure to a minimum, preserving flavor.
- Cool, Dark Place: Store your herbs in a cool, dark location, like a pantry or cupboard. Avoid warm or humid areas, as heat can degrade their quality.
- Label and Date: Always label your containers with the herb name and the date of drying. This helps you track freshness and use them within their ideal timeframe.
With proper care, most dried herbs can last for 1 to 3 years.
However, for the best flavor, try to use them within six months to a year after drying.
Regularly check your herbs for any signs of loss in aroma or flavor to guarantee you're enjoying the best herbal tea experience.
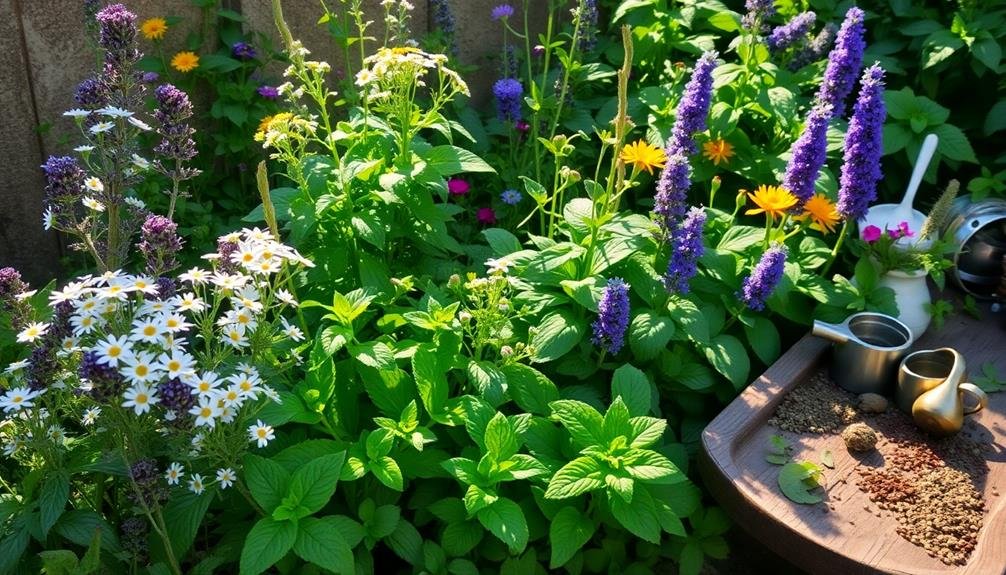
Creating Tea Blends

Crafting your own tea blends opens up a world of flavors and aromas that can be tailored to your personal taste. Start by selecting a base herb, like chamomile for a calming effect or peppermint for a revitalizing twist. These bases set the foundation for your blend.
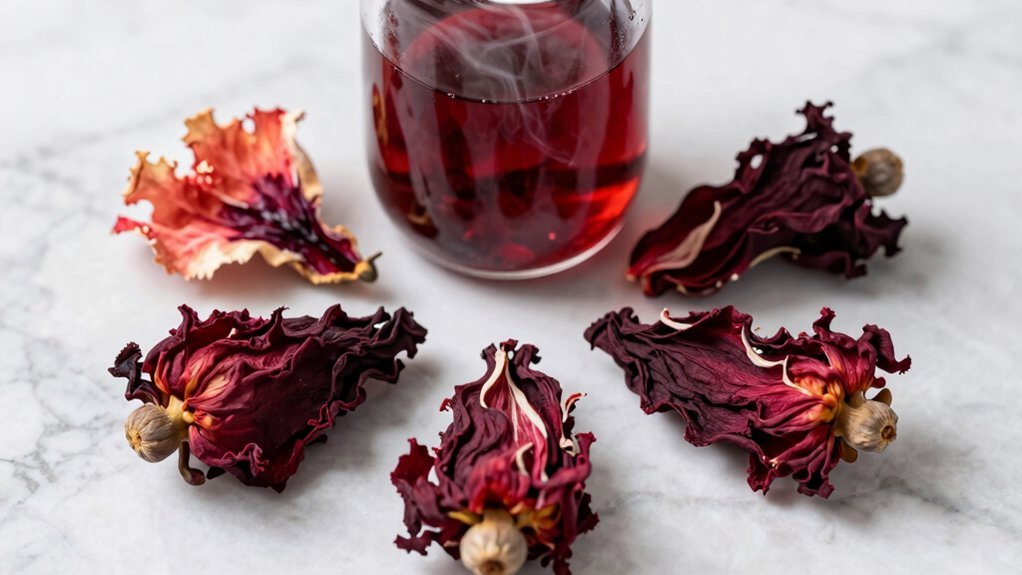
Next, consider adding supporting herbs. Think about how you want your tea to feel—perhaps some ginger for warmth, or hibiscus for a tart, fruity note. Don't forget to incorporate flowers or spices, such as lavender or cinnamon, to enhance the complexity of your blend.
When it comes to proportions, use a ratio that feels right for you. A common starting point is two parts base herb to one part supporting herb, but feel free to adjust based on your preferences.
Take notes as you experiment; this will help you recreate your favorite blends in the future.
Flavor Pairing Tips
When it comes to flavor pairing for your herbal tea blends, think about how different herbs complement each other. Selecting the right combinations can elevate your tea experience.
Start by considering the primary flavor profile you want. Are you aiming for something soothing, invigorating, or spicy? Here are some tips to guide your pairings:
- Balance Strong and Mild Flavors: Pair robust herbs like peppermint or ginger with milder ones like chamomile or lemon balm. This balance creates a harmonious blend without one overpowering the other.
- Consider Aromatic Qualities: Use herbs with strong aromas to enhance the overall scent of your tea. For example, combining lavender with lemon verbena not only tastes delightful but also offers a fragrant experience.
- Explore Seasonal Ingredients: Incorporate herbs that match the season. Fresh mint and citrus in summer or warming spices like cinnamon and clove in winter can create seasonal favorites that resonate with the time of year.
Experimenting with these tips will help you discover unique flavor combinations that make your herbal tea blends truly special.
Happy blending!
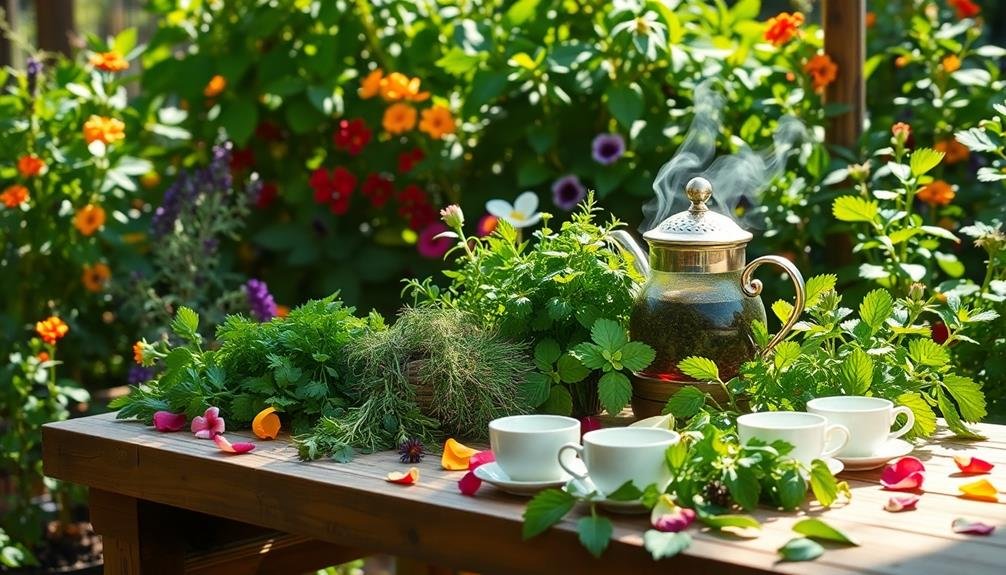
Brewing Your Herbal Tea

After you've selected your flavor combinations, the next step is brewing your herbal tea to bring those flavors to life.
Start by gathering your fresh herbs or dry blends. For a potent brew, use about one tablespoon of herbs for every cup of water. If you prefer a stronger flavor, feel free to add more.
Next, bring your water to a boil. If you're using delicate herbs, like chamomile or mint, let the water cool for a minute after boiling to avoid scalding them.
Pour the hot water over your herbs in a teapot or infuser, then cover and steep. Most herbal teas benefit from a steeping time of 5 to 10 minutes, but you can adjust this based on your taste preferences.
Once the steeping is done, strain the mixture to remove the herbs. If you like, you can sweeten your tea with honey or a splash of lemon for an extra zing.
Experiment with different blends and steeping times to find your perfect cup. Enjoy the aromas and watch as your herbal creation comes alive with every sip!
Enjoying Your Tea Experience
Savoring your herbal tea is an experience that goes beyond just taste; it engages all your senses. The aroma wafting from your cup can transport you to a garden filled with blooming herbs.
As you take that first sip, close your eyes and focus on the flavors dancing on your palate. Each blend tells a story, and you're the one discovering it.
To enhance your tea experience, consider these three elements:
- Mindful Sipping: Take your time. Allow the warmth of the cup to cradle your hands. With each sip, focus on the nuances of flavor, whether it's floral, spicy, or earthy.
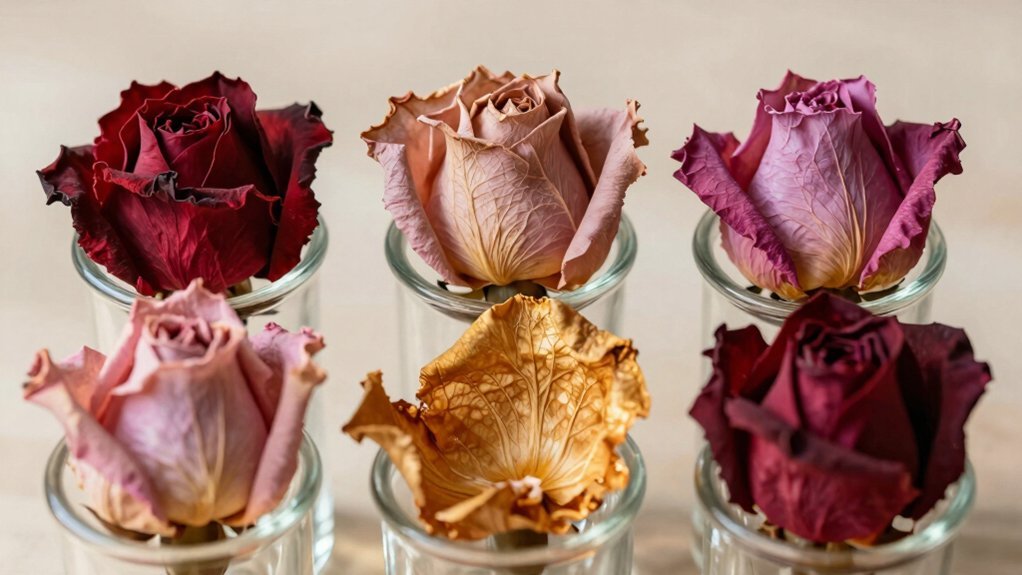
- Visual Presentation: The beauty of your tea can elevate the experience. Use a clear glass teapot or cup to showcase the vibrant colors of your herbal blend. Add fresh herbs or edible flowers for a stunning visual.
- Accompanying Rituals: Pair your tea with a quiet moment, a good book, or calming music. These rituals create a serene atmosphere, allowing you to fully immerse yourself in the experience.
Enjoying your herbal tea becomes a cherished ritual that nurtures both body and soul.
Frequently Asked Questions
Can I Use Store-Bought Herbs for My Tea Blends?
Yes, you can use store-bought herbs for your tea blends. Just make sure they're fresh and of good quality. Experimenting with different combinations can lead to delicious flavors that suit your taste perfectly!
How Long Do Dried Herbs Last in Storage?
Dried herbs typically last about one to three years if stored properly. Keep them in a cool, dark place in airtight containers. Check for color and aroma; if they're faded, it's time to replace them.
What Equipment Is Needed to Grow Herbs at Home?
To grow herbs at home, you'll need pots or containers, quality soil, seeds or seedlings, a watering can, and adequate light. A small trowel and shears can also help you maintain your herbs effectively.
Are There Any Caffeine-Free Herbal Options Available?
You've got plenty of caffeine-free herbal options to explore. Chamomile, peppermint, and rooibos teas are great choices. They're delicious, soothing, and perfect for any time of day when you want to relax. Enjoy!
Can I Mix Different Herbal Teas for Unique Flavors?
Absolutely, you can mix different herbal teas for unique flavors! Experiment with combinations like chamomile and peppermint or ginger and lemongrass. Just trust your taste buds and enjoy discovering new blends that excite your palate.
In Summary
Now that you've gathered your herbs and learned the art of crafting herbal tea, it's time to savor the fruits of your labor. With the right blends and brewing techniques, you can create a unique cup that reflects your taste. Remember to experiment with flavors and enjoy the process of discovery. So, brew a cup, sit back, and relish the soothing experience of your homemade herbal tea. Cheers to your garden-to-cup journey!
Leave a Reply