
To craft your herbal tea blends, start by choosing herbs that align with your flavor preferences and health benefits. Once you've harvested your herbs in the morning, use air drying, oven drying, or a dehydrator to get them ready. Make sure to store your dried herbs in airtight containers, keeping them cool and dark for ideal shelf life. Aim to use your blends within six months to a year for the best flavor. With this foundation, you'll soon be creating unique blends that not only taste great but offer health benefits too. There's so much more to explore!
Choosing the Right Herbs
When you're crafting your herbal tea blends, it's essential to choose the right herbs to achieve the flavors and benefits you desire. Start by reflecting on the flavor profiles you want. Do you prefer something soothing and mild, or bold and invigorating? Herbs like chamomile and lemongrass offer gentle flavors, while peppermint and ginger can add a zesty kick.
Next, think about the health benefits you want your tea to provide. For relaxation, look at herbs like lavender or passionflower. If you're seeking digestive support, contemplate peppermint or fennel. Each herb has unique properties, so research their benefits before making your selection.
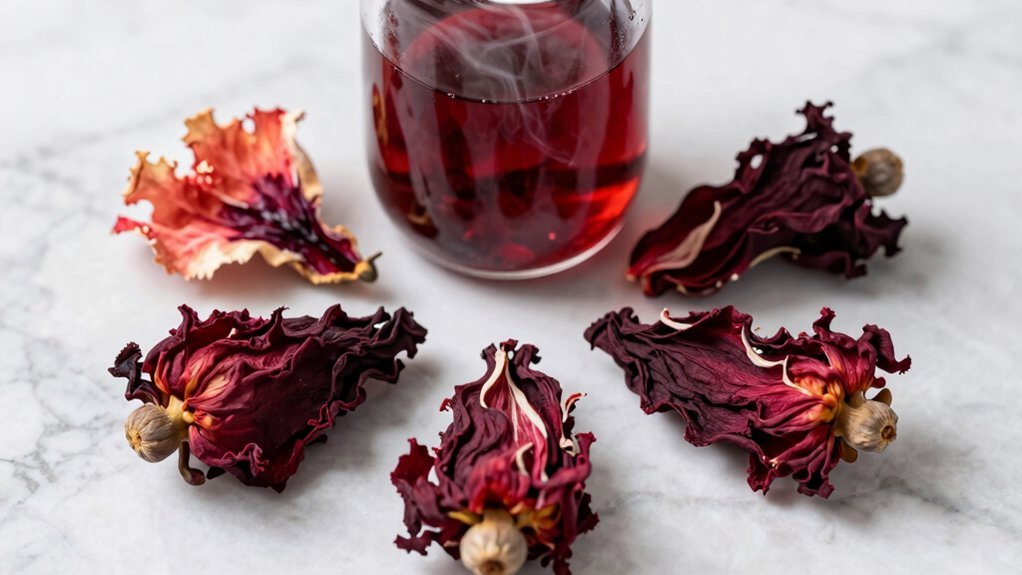
Don't forget about balance! Combining herbs with complementary flavors can enhance your blend. For example, pairing earthy rosemary with sweet hibiscus creates a delightful contrast.
It's also essential to reflect on the aroma, as it plays a significant role in your tea experience.
Harvesting Techniques
When you're ready to harvest your herbs, timing is key for the best flavor and potency.
Aim to cut your herbs in the morning after the dew has dried but before the sun gets too hot.
Using gentle cutting methods will guarantee you don't damage the plants, allowing them to thrive for future harvests.
Optimal Harvesting Time
Harvesting your herbs at the right time can make all the difference in the flavor and potency of your tea blends. Timing is essential, as herbs contain the highest concentration of essential oils and active compounds just before they flower. This is when they're at their peak flavor and aroma.
To help you identify the ideal time for harvesting, here's a quick reference table:
| Herb Type | Best Harvest Time |
|---|---|
| Mint | Late morning, just before flowering |
| Chamomile | When flowers are fully open, mid-morning |
| Basil | Before it begins to flower, early morning |
When you harvest, look for vibrant, healthy leaves. Avoid picking herbs during wet weather, as moisture can lead to mold during drying. Instead, aim for clear, sunny days. Remember, the best time to harvest is early in the day, after the dew has dried but before the sun gets too hot. With careful timing, you'll guarantee your herbal tea blends are bursting with flavor and well-preserved potency. Happy harvesting!
Gentle Cutting Methods
To guarantee your herbs thrive and maintain their essential oils, it's crucial to employ gentle cutting methods during the harvest. Start by using sharp, clean scissors or pruning shears. This guarantees a clean cut, which helps prevent damage to the plant. Aim to snip stems just above a leaf node, as this encourages new growth and keeps your plants healthy.
When harvesting, avoid pulling or yanking on the stems, as this can bruise the plant and lead to oil loss. Instead, gently hold the stem and cut it with a smooth motion. If you're gathering larger quantities, work in small sections to prevent overwhelming the plant and to guarantee a more manageable harvest.
Remember to always harvest in the morning after the dew has dried but before the heat of the day sets in. This timing helps preserve the essential oils, resulting in better flavor and potency.
Bundling for Drying
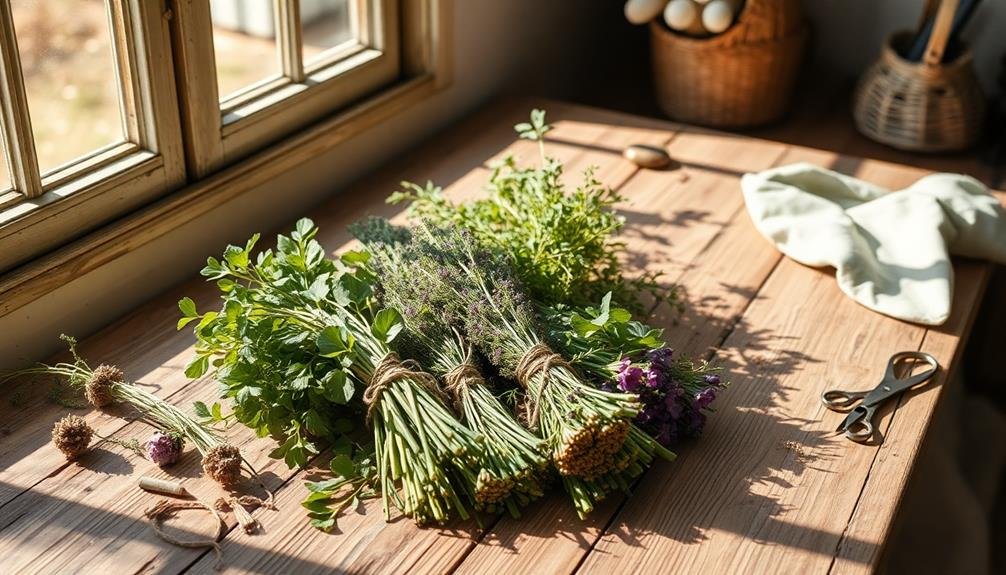
Bundling herbs for drying is a simple yet effective method that maximizes your yield and preserves flavor. Start by selecting healthy, vibrant herbs, ensuring they're free from pests and disease. Gather a handful of stems, usually 5 to 10, depending on their thickness.
Next, strip the lower leaves to prevent moisture buildup and mold during the drying process. Once your bundles are ready, use a natural twine or string to tie them together securely. Make sure to leave enough space between the stems for air circulation, which is essential for effective drying.
Find a cool, dark, and well-ventilated area to hang your bundles upside down. This position allows the moisture to escape from the stems, reducing the risk of spoilage. Avoid direct sunlight, as it can degrade the color and flavor of your herbs.
Check your bundles regularly for any signs of mold or rot. Drying times can vary, so be patient; herbs typically take one to three weeks to dry completely.
Once they're crisp to the touch, you can store them in a cool, dark place, ready to enhance your herbal tea blends.
Drying Methods Explained
When it comes to drying your herbs, you've got several methods to choose from.
Whether you prefer air drying, using an oven, or a dehydrator, each technique has its own advantages.
Let's explore these drying methods so you can pick the best one for your herbal blends.
Air Drying Techniques
Air drying herbs is one of the simplest and most effective methods for preserving their flavor and potency. To get started, choose fresh, healthy herbs without any blemishes. Gather your herbs in small bundles, tying them securely with twine or string. This guarantees that air can circulate around each stem, promoting even drying.
Next, hang your bundles upside down in a warm, dark, and well-ventilated area. A kitchen or pantry often works well, but avoid places with high humidity, as that can lead to mold. If you don't have enough space to hang bundles, you can also lay the herbs flat on a clean, dry screen or paper towel.
Make certain to check your herbs regularly. Depending on the type and moisture content, they may take anywhere from a few days to a couple of weeks to dry fully. You'll know they're ready when the leaves are brittle and crumble easily.
Once dried, store your herbs in airtight containers away from light and heat to maintain their potency. This method not only conserves their flavor but also allows you to enjoy your herbal blends long after the growing season ends.
Oven Drying Process
If you're looking for a quicker method to dry your herbs, the oven drying process is a great option. This technique allows you to retain flavor and aroma while speeding up the drying time.
Start by preheating your oven to the lowest setting, typically around 170°F (77°C).
Prepare your herbs by washing them gently to remove dirt and insects, then pat them dry with a clean towel. Spread the herbs in a single layer on a baking sheet lined with parchment paper. Make sure they're not overcrowded, as airflow is essential for even drying.
Place the baking sheet in the preheated oven and leave the door slightly ajar to allow moisture to escape. Check the herbs every 15 minutes, rotating the tray if needed. Depending on the type of herb, drying can take anywhere from 30 minutes to over an hour.
You'll know they're done when they crumble easily between your fingers. Once cooled, store your dried herbs in airtight containers away from light and heat.
This method not only saves time but also helps you enjoy your favorite herbs year-round!
Dehydrator Use Tips
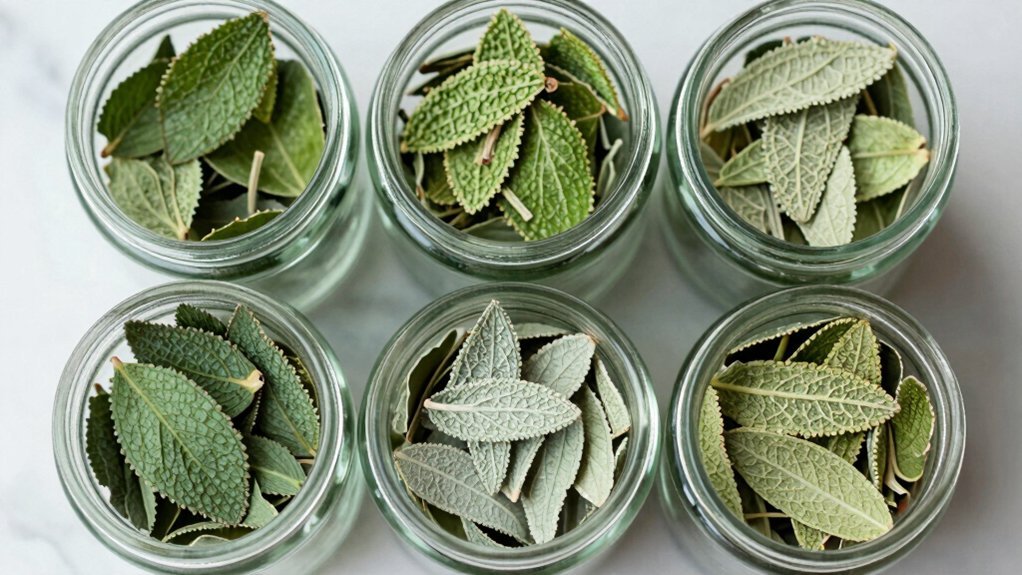
Dehydrators are an excellent tool for preserving herbs while maintaining their vibrant flavors and aromas. When using a dehydrator, start by selecting fresh, healthy herbs. Rinse them gently to remove any dirt or pests, then pat them dry with a clean towel.
It's essential to cut larger leaves into smaller pieces to guarantee even drying. Set your dehydrator to the recommended temperature, typically between 95°F and 115°F, depending on the herb type. Herbs like basil and oregano usually dry faster than thicker ones like sage or rosemary.
Arrange the herbs in a single layer on the dehydrator trays, ensuring good air circulation between them. Check the herbs periodically. They're done when they crumble easily between your fingers. This usually takes anywhere from a few hours to a full day.
Once dried, let them cool completely before storing. For storage, use airtight containers, preferably glass jars, and keep them in a cool, dark place to preserve flavor. Label your containers with the herb name and date to keep track of freshness.
With these tips, you'll enjoy flavorful herbal tea blends year-round!
Proper Storage Solutions
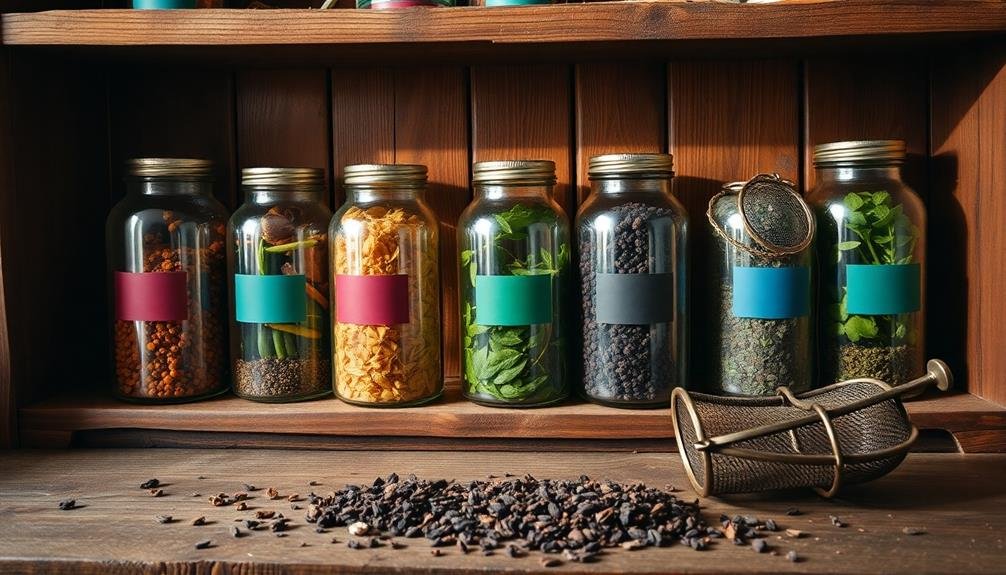
To keep your herbal tea blends fresh and flavorful, choosing the right storage solutions is essential. Start by selecting airtight containers to protect your blends from moisture and air, which can degrade their quality. Glass jars with tight-fitting lids or opaque tins work well, as they prevent light exposure, which can also diminish flavor.
Make sure the containers are clean and completely dry before adding your herbal blends. Label each container with the blend name and the date of storage; this helps you keep track of freshness.
Store your containers in a cool, dark place, away from heat sources and direct sunlight, to maintain the best flavor profile.
Avoid storing your blends in the kitchen if it tends to get warm or humid. Instead, consider a pantry or a dedicated herb cabinet. If you've created multiple blends, keeping them organized in a spice rack or drawer can make it easier to find what you need.
Lastly, try to use your blends within six months to a year for ideal taste. Regularly check your stored herbal teas for any signs of spoilage, and discard anything that looks or smells off.
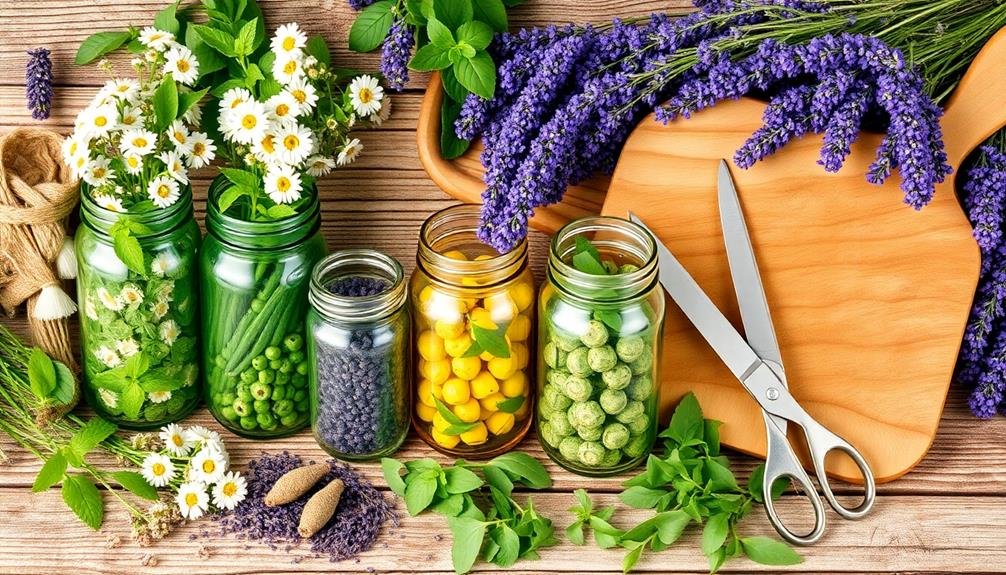
Creating Unique Blends
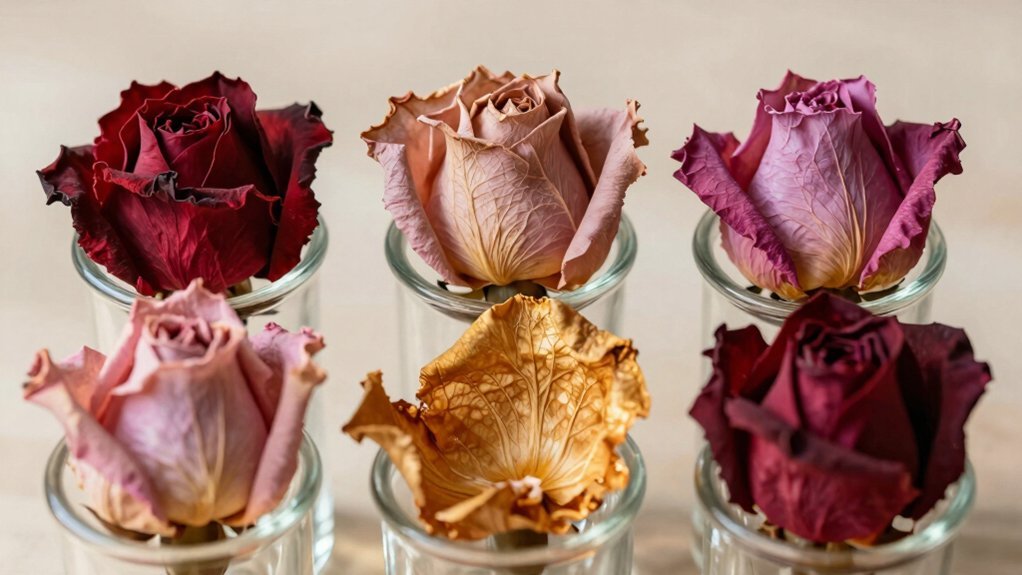
Creating unique herbal tea blends is an exciting way to customize your sipping experience and discover new flavors. To start, think about the flavor profiles you enjoy. Do you prefer something floral, earthy, or perhaps a bit spicy? Choose base herbs like chamomile for a soothing blend, peppermint for a revitalizing touch, or ginger for warmth.
Next, consider complementary ingredients. Pairing herbs can enhance your blend's flavor, so mix a few to create depth. For instance, you might combine lavender with lemon balm for a calming yet zesty infusion. Don't shy away from adding dried fruits or spices, like hibiscus for a tart note or cinnamon for warmth.
Balance is key. Aim for a harmonious blend, avoiding overpowering one flavor over another. Experiment with different ratios, starting with a small batch to test your creation. Take notes on your blends, noting what works and what doesn't. This way, you can refine your recipes over time.
Lastly, let your creativity shine! There are no strict rules, so trust your palate and have fun exploring the endless possibilities of herbal tea blending. Enjoy the process and sip your unique creations with pride!
Brewing Your Herbal Tea
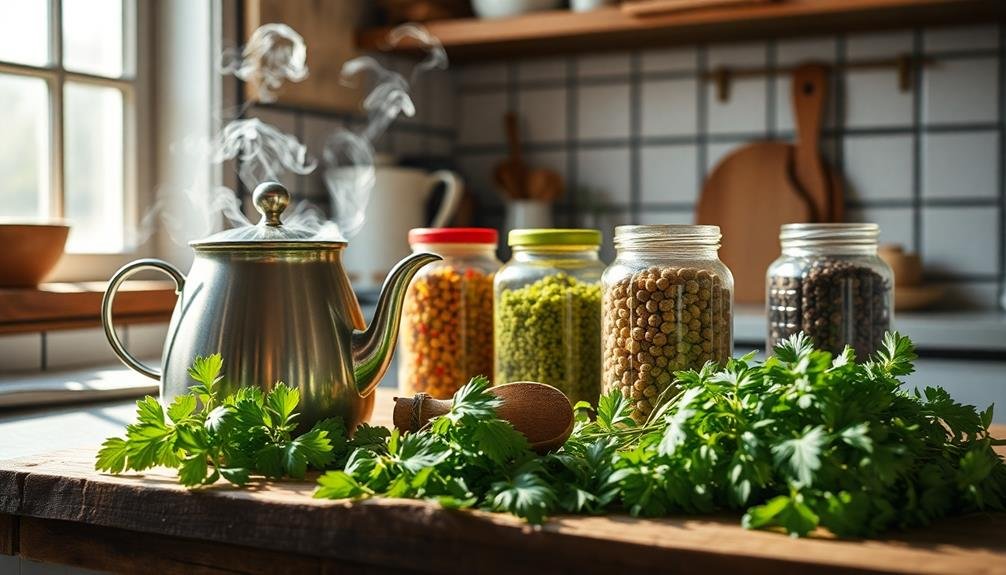
Brewing your herbal tea is where the magic truly happens, turning your carefully crafted blends into aromatic and flavorful infusions. To get the best results, pay attention to water temperature and steeping time, as these factors can greatly influence the final taste.
Here's what you need to keep in mind:
- Water Temperature: Different herbs require different temperatures. Delicate flowers like chamomile do well with water around 190°F, while sturdier herbs like peppermint can handle boiling water.
- Steeping Time: Steep your tea for the right amount of time to extract ideal flavor. Generally, 5 to 7 minutes works well for most herbal blends. Adjust according to your taste preference.
- Quality Water: Use filtered or spring water for the best flavor. Tap water can contain minerals that alter the taste of your infusion.
Once your tea is brewed, strain it into your favorite cup and enjoy! You can enhance your experience by adding a touch of honey, a squeeze of lemon, or even a splash of apple cider vinegar.
Experiment, savor, and let each cup transport you to a place of relaxation and satisfaction.
Frequently Asked Questions
Can I Use Dried Herbs Past Their Expiration Date?
You can use dried herbs past their expiration date, but they might lose potency and flavor. Always check for signs of spoilage, like off smells or discoloration, before using them in your culinary creations.
How Can I Enhance the Flavor of My Herbal Blends?
To enhance your herbal blends, experiment with different herbs, spices, or citrus peels. You can also adjust steeping times and temperatures, allowing flavors to meld. Don't be afraid to mix until you find your perfect combination!
Are There Any Herbs That Shouldn't Be Mixed Together?
Yes, some herbs shouldn't be mixed due to potential toxicity or flavor clash. For instance, avoid combining strong flavors like peppermint with delicate herbs. Always research compatibility before blending to guarantee safety and taste harmony.
What Tools Do I Need for Blending Herbs?
To blend herbs, you'll need a reliable scale for measuring, mortar and pestle for grinding, storage jars for your blends, and a good sieve for separating finer particles. These tools make the process smoother and enjoyable.
How Do I Know if My Herbs Are Dried Properly?
You'll know your herbs are dried properly when they feel crisp and crumble easily between your fingers. If they're still pliable or moist, they need more time to dry. Trust your senses to guide you!
In Summary
Now that you're equipped with the knowledge to craft your own herbal tea blends, it's time to get started! Remember to choose the right herbs and use proper harvesting and drying techniques. Once you've created your unique blends, store them correctly to maintain their flavor and potency. Enjoy the process of brewing your herbal tea, and savor the delightful flavors you've crafted. Happy tea making!
Leave a Reply