
Crafting herbal kombucha at home allows you to infuse your fermented tea with unique flavors and potential health benefits. Start with high-quality organic tea and herbs, and guarantee you have a healthy SCOBY and proper equipment. Brew your tea base, add herbs like chamomile, peppermint, or hibiscus, and let it ferment for 7-10 days. Monitor temperature and pH levels for best results. Experiment with flavor combinations like lavender-mint or ginger-turmeric during the second fermentation. Remember to maintain cleanliness throughout the process to avoid contamination. With practice, you'll create delicious, probiotic-rich kombucha tailored to your taste preferences. Discover the endless possibilities of herbal kombucha brewing.
Understanding Kombucha Basics
What exactly is kombucha? It's a fermented tea beverage that's been consumed for thousands of years. You start with sweetened tea, typically black or green, and add a SCOBY (Symbiotic Culture of Bacteria and Yeast). This living culture transforms the tea into a slightly fizzy, tangy drink packed with probiotics and beneficial acids.
The fermentation process usually takes 7-10 days, during which the SCOBY consumes most of the sugar, producing various organic acids, enzymes, and vitamins. The result is a revitalizing, low-sugar beverage with a complex flavor profile.
Kombucha's health benefits are attributed to its probiotic content, which may support gut health and boost your immune system. It's also rich in antioxidants and can contain small amounts of B vitamins.
When crafting kombucha at home, you'll need a few key components: tea, sugar, a SCOBY, and starter tea from a previous batch. Cleanliness is essential to prevent contamination.
You'll also need patience, as the fermentation process can't be rushed. With practice, you'll learn to adjust fermentation times to achieve your preferred flavor and carbonation levels.
Selecting Herbal Tea Blends
Immerse yourself in the world of herbal tea blends to elevate your kombucha brewing experience. When selecting herbs for your kombucha, consider flavor profiles, health benefits, and compatibility with fermentation. Choose organic, high-quality herbs to guarantee the best results and avoid any unwanted chemicals in your brew.
Experiment with single herbs or create unique blends to suit your taste preferences. Some popular herbs for kombucha include chamomile, peppermint, hibiscus, and lemongrass. Don't shy away from unconventional options like lavender or rosemary, which can add intriguing dimensions to your brew.
Here's a quick guide to some herbal tea options for your kombucha:
| Herb | Flavor Profile | Potential Benefits |
|---|---|---|
| Chamomile | Floral, mild | Relaxation, digestion |
| Peppermint | Cool, invigorating | Digestive aid, energy |
| Hibiscus | Tart, fruity | Antioxidants, vitamin C |
Remember to start with small batches when trying new herbs, as some may affect fermentation time or SCOBY health. Keep notes on your experiments to refine your recipes and create signature kombucha blends that reflect your unique taste and style.
Essential Brewing Equipment
To brew herbal kombucha, you'll need some essential equipment.
Start with a suitable fermentation vessel, such as a glass jar or ceramic crock, and invest in tools to monitor and control temperature during the brewing process.
Don't forget to gather bottling and storage equipment, including flip-top bottles or mason jars, to properly carbonate and preserve your finished kombucha.
Basic Fermentation Vessel Options
Three main options exist for your kombucha fermentation vessel: glass jars, ceramic crocks, and food-grade plastic containers. Each has its pros and cons, so choose based on your specific needs and preferences.
Glass jars are the most popular choice. They're transparent, allowing you to monitor your brew easily. They're also non-reactive, guaranteeing no unwanted flavors leach into your kombucha. Wide-mouth gallon jars work well for most home brewers. Confirm they're food-grade and free from chips or cracks.
Ceramic crocks offer excellent temperature stability but lack transparency. They're ideal if you're brewing in an area with temperature fluctuations. Look for food-safe glazes and avoid any with cracks that could harbor harmful bacteria.
Food-grade plastic containers are lightweight and shatterproof, making them a practical option. However, they may scratch easily, providing hiding spots for unwanted microorganisms. If you choose plastic, opt for BPA-free containers and replace them regularly to maintain brew quality.
Whichever vessel you choose, confirm it's large enough to accommodate your desired batch size and has a wide opening for easy SCOBY access and cleaning.
Temperature Control Tools
Maintaining ideal temperature is essential for successful kombucha brewing. You'll need reliable tools to monitor and control the temperature throughout the fermentation process. A simple thermometer is your first line of defense, allowing you to check the ambient temperature of your brewing space.
For more precise measurements, consider using an adhesive thermometer strip attached directly to your fermentation vessel.
If you're brewing in a cooler environment, you might need a heating element to keep your kombucha at the best temperature range of 75-85°F (24-29°C). A heating mat or belt designed for homebrewing can provide gentle, consistent warmth.
Some brewers prefer using a small space heater in their fermentation area, but be cautious not to overheat your brew.
For those in warmer climates, cooling might be necessary. Consider these options:
- Place your fermentation vessel in a cooler location, like a basement or closet
- Use a small fan to circulate air around the vessel
- Wrap the container in a damp cloth to promote evaporative cooling
Bottling and Storage Equipment
After ensuring your kombucha ferments at the right temperature, you'll need proper equipment for bottling and storage. Choosing the right bottles is vital for maintaining carbonation and preserving flavor. Opt for flip-top bottles or tightly sealing screw-cap bottles designed to withstand pressure. Glass is preferred over plastic, as it's non-reactive and easier to clean.
You'll also need a funnel and a fine-mesh strainer to transfer your kombucha smoothly and remove any loose particles. A bottle brush is essential for thorough cleaning, ensuring no residue remains that could affect future batches.
Here's a quick overview of essential bottling and storage equipment:
| Item | Purpose | Recommended Type |
|---|---|---|
| Bottles | Storage and carbonation | Glass flip-top or screw-cap |
| Funnel | Easy transfer | Wide-mouth, food-grade plastic |
| Strainer | Remove particles | Fine-mesh, stainless steel |
For long-term storage, consider investing in a dedicated refrigerator or cooler to maintain a consistent temperature. This will help slow down fermentation and preserve your kombucha's flavor profile. Remember to label your bottles with the brew date and any added flavors to keep track of your creations.
Preparing the SCOBY
To begin crafting your herbal kombucha, you'll need a healthy SCOBY (Symbiotic Culture of Bacteria and Yeast).
If you've obtained a dormant SCOBY, you'll need to activate it before use.
Proper SCOBY care is essential for maintaining the health and energy of your kombucha culture throughout the brewing process.
Sourcing a Healthy SCOBY
The foundation of successful kombucha brewing lies in a healthy SCOBY (Symbiotic Culture of Bacteria and Yeast). To source a quality SCOBY, you've got several options. You can obtain one from a trusted friend or fellow kombucha brewer, purchase from a reputable online supplier, or grow your own from a bottle of raw, unflavored kombucha.
When selecting a SCOBY, look for one that's firm, smooth, and light tan to brown in color. Avoid SCOBYs with black spots, mold, or an overly yeasty smell. A healthy SCOBY should be at least ¼ inch thick and come with about 1 cup of starter tea.
To guarantee you're getting a vibrant SCOBY, consider these factors:
- Age: Younger SCOBYs (1-3 months old) tend to be more active and efficient.
- pH level: A good SCOBY should come with starter tea at a pH between 2.5 and 3.5.
- Origin: SCOBYs from continuous brew systems are often more robust and diverse in beneficial microorganisms.
Activating Dormant SCOBYS
Once you've gotten your hands on a dormant SCOBY, it's time to wake it up for brewing. Start by preparing a nutrient-rich solution to reactivate your SCOBY. Mix 1 cup of water with 1 tablespoon of sugar and 1 tablespoon of plain, unflavored kombucha or distilled white vinegar. Heat this mixture until the sugar dissolves, then let it cool to room temperature.
Place your dormant SCOBY in a clean glass jar and pour the cooled solution over it. Cover the jar with a breathable cloth and secure it with a rubber band. Store the jar in a warm, dark place for 5-7 days. During this time, you'll notice signs of SCOBY activation:
| Day | Observations |
|---|---|
| 1-2 | SCOBY may float or sink |
| 3-4 | Tiny bubbles appear on surface |
| 5-6 | New, thin layer forms on top |
| 7 | SCOBY thickens, solution clouds |
Once your SCOBY shows these signs of life, it's ready for brewing. If you don't see activity after a week, try adding more sugar and kombucha to the solution and give it a few more days. With patience, you'll soon have an active SCOBY for your herbal kombucha adventures.
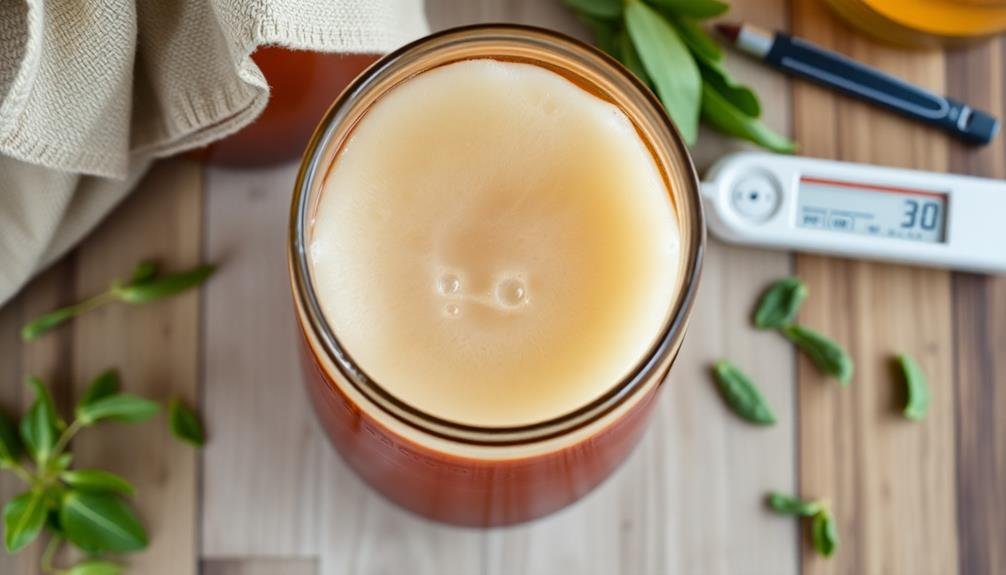
SCOBY Care Essentials
Caring for your SCOBY is crucial for successful herbal kombucha brewing. Proper maintenance guarantees your culture remains healthy and productive, allowing you to craft delicious herbal kombucha batches consistently.
Keep your SCOBY in a clean, glass container filled with enough kombucha tea to cover it completely. Store it at room temperature, away from direct sunlight and strong odors.
To maintain a thriving SCOBY, follow these essential care tips:
- Cleanliness: Always use clean, sterilized equipment when handling your SCOBY to prevent contamination.
- pH balance: Monitor the acidity of your kombucha regularly, aiming for a pH between 2.5 and 3.5 to discourage mold growth.
- Feeding schedule: Provide fresh sweet tea every 7-30 days, depending on your brewing frequency, to keep the SCOBY nourished.
Inspect your SCOBY regularly for signs of mold or discoloration. A healthy SCOBY should be cream to light brown in color, with a firm, rubbery texture.
If you notice any fuzzy patches or unusual colors, discard the SCOBY and start fresh. Remember, a well-cared-for SCOBY can last for years, producing countless batches of delicious herbal kombucha.
Crafting Your Tea Base

Creating a robust tea base is the foundation of any great kombucha. To craft your perfect brew, start with high-quality, organic tea leaves. Black, green, or oolong teas work well, but you can experiment with herbal blends too. Aim for about 2 tablespoons of loose tea or 4-6 tea bags per gallon of water.
Begin by boiling filtered water and removing it from heat. Add your chosen tea and let it steep for 10-15 minutes, depending on the variety. For a stronger flavor, you can steep longer, but be careful not to over-extract, which can lead to bitterness.
Once steeped, remove the tea leaves or bags and add your sweetener. Sugar is traditional, but you can use honey or other natural sweeteners. Aim for 1 cup of sugar per gallon of tea.
Stir until the sweetener is fully dissolved, then let the mixture cool to room temperature. It's essential not to add your SCOBY while the tea is still hot, as this can damage the culture.
Once cooled, you're ready to transfer your tea base to your fermentation vessel and begin the kombucha-making process.
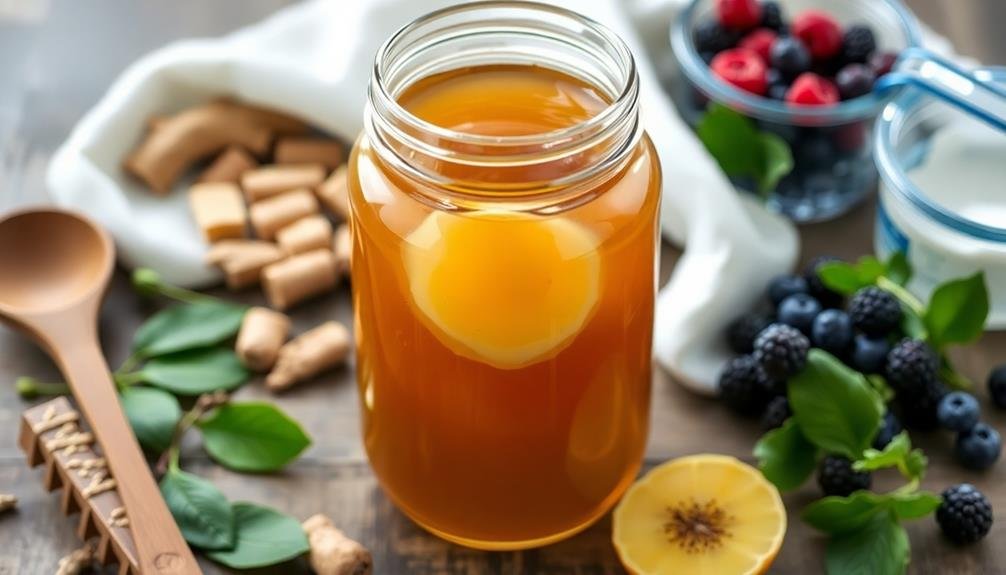
Adding Herbal Flavors
Once you've prepared your tea base, it's time to explore the world of herbal flavors for your kombucha.
You'll find endless possibilities with popular combinations like lavender-mint, ginger-turmeric, and lemon-thyme.
To steep herbs effectively, add them to your hot tea base and let them infuse for 5-10 minutes before straining and proceeding with fermentation.
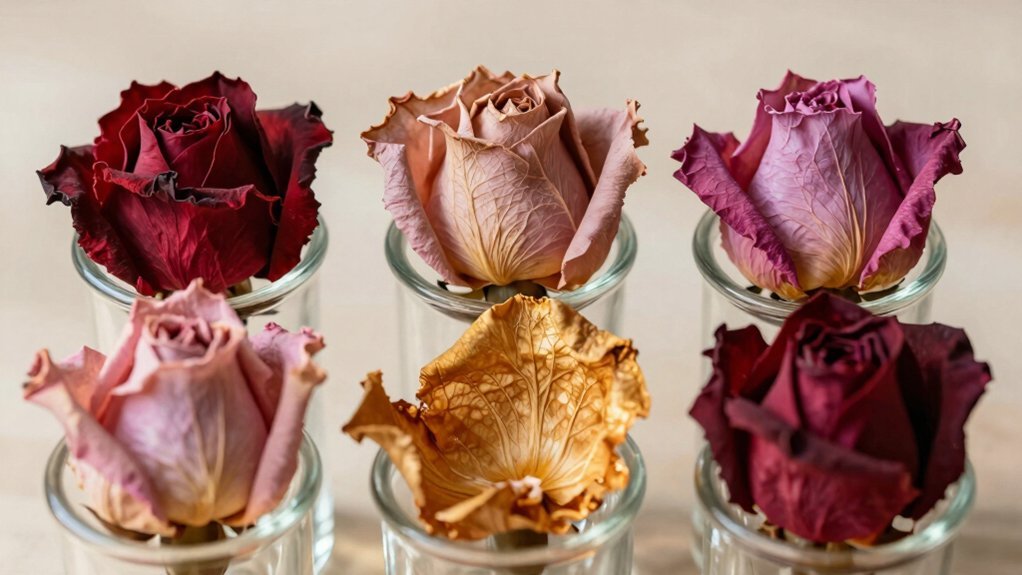
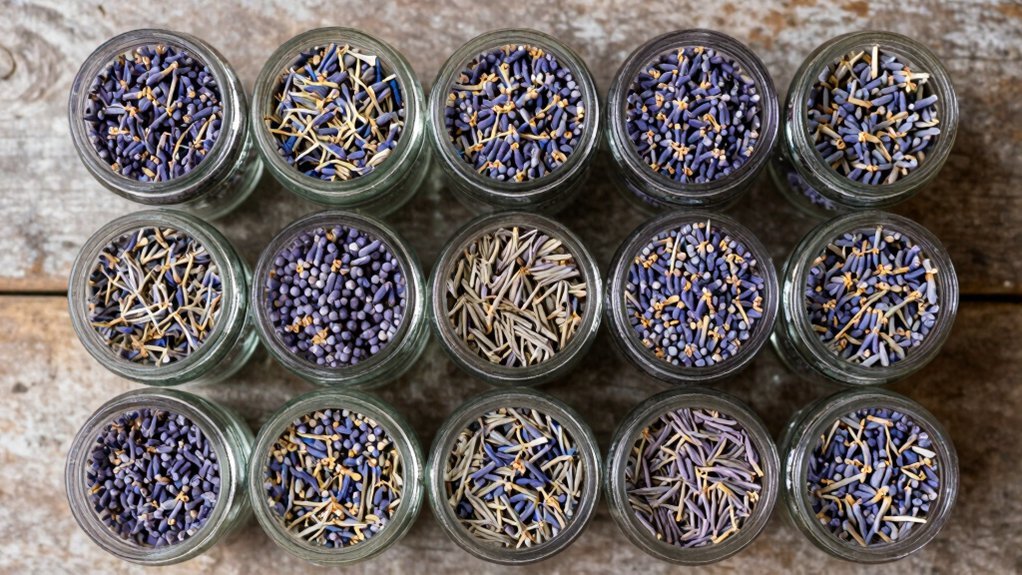
Popular Herbal Combinations
While the basic kombucha recipe provides a tangy and invigorating beverage, adding herbal flavors can elevate your brew to new heights. Experiment with popular herbal combinations to create unique and delicious flavors.
Try pairing lavender with lemon for a calming, citrusy blend, or combine ginger and turmeric for a spicy, anti-inflammatory boost. Mint and rosemary offer a revitalizing, cooling effect, perfect for hot summer days.
For a more complex flavor profile, consider these popular herbal trios:
- Chamomile, rose petals, and vanilla bean
- Hibiscus, lemongrass, and ginger
- Sage, thyme, and elderberry
These combinations not only enhance the taste but also provide additional health benefits. When selecting herbs, opt for organic, high-quality ingredients to guarantee the best flavor and avoid any unwanted chemicals.
Remember to adjust the amount of herbs based on your personal preference and the strength of the flavors. Start with small quantities and gradually increase until you achieve the desired taste.
Don't be afraid to mix and match herbs to create your own signature kombucha blend.
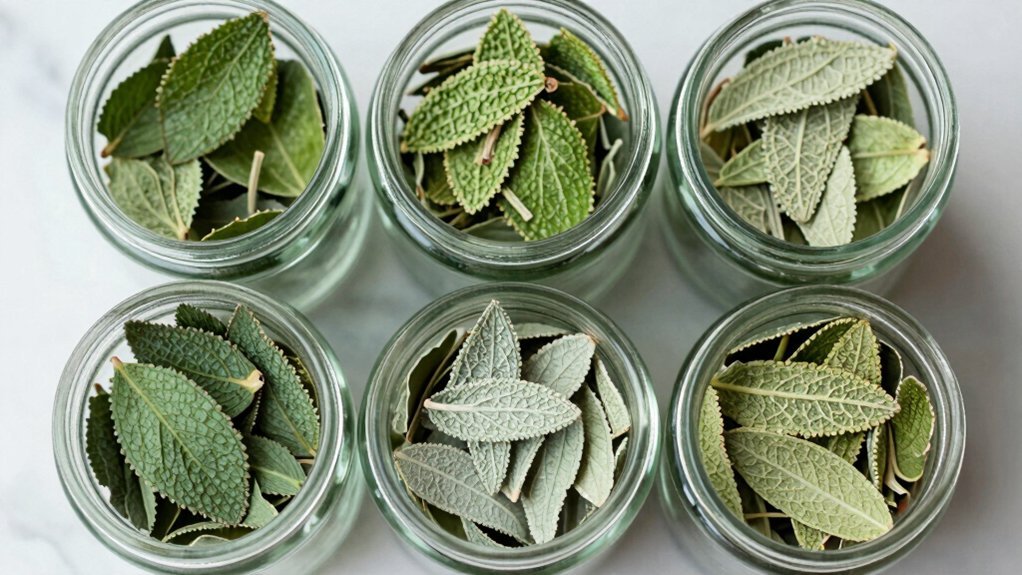
Steeping Herbs Effectively
Now that you've chosen your herbal combinations, it's time to focus on the art of steeping herbs effectively. To extract the maximum flavor and beneficial compounds from your herbs, pay attention to water temperature and steeping time.
For delicate herbs like mint or chamomile, use water that's around 175°F (80°C) and steep for 3-5 minutes. Hardier herbs such as ginger or cinnamon can handle boiling water (212°F/100°C) and longer steeping times of 5-7 minutes.
Consider the form of your herbs: fresh herbs often require longer steeping times than dried ones. If you're using whole spices, slightly crush them to release more flavor. For a stronger infusion, increase the amount of herbs rather than extending the steeping time, which can lead to bitterness.
When adding herbs to your kombucha, you have two options: steep them in hot water and add the cooled infusion to your second fermentation, or add the herbs directly to the kombucha.
The first method gives you more control over flavor intensity, while the second allows for a longer infusion period. Experiment with both to find your preferred technique.
First Fermentation Process
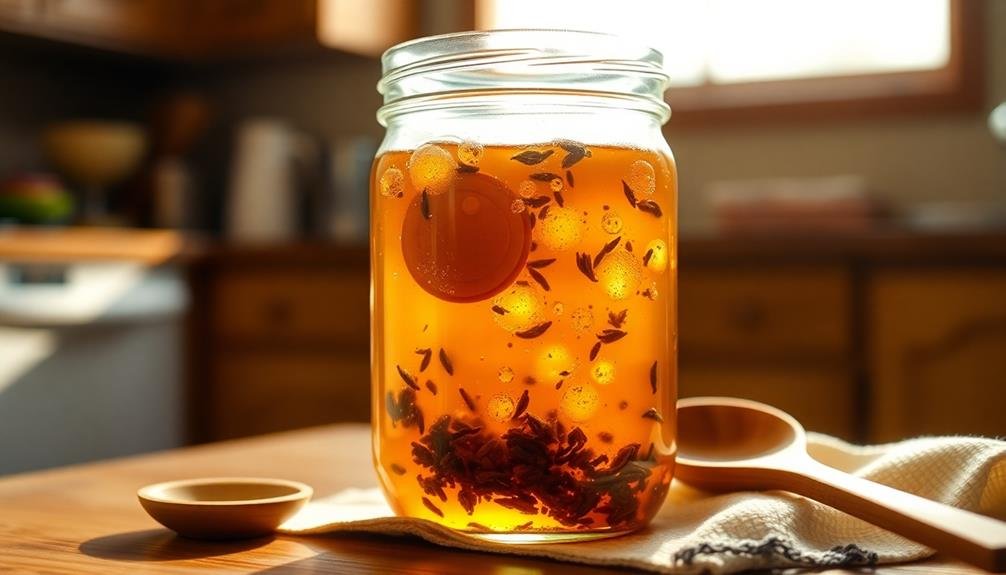
The first fermentation process is where the magic begins in crafting herbal kombucha. After steeping your herbs and preparing the sweetened tea base, it's time to introduce the SCOBY (Symbiotic Culture of Bacteria and Yeast) and starter tea.
Carefully place the SCOBY into your brewing vessel, then pour in the cooled herbal tea mixture and starter tea. Cover the container with a tightly woven cloth or coffee filter, securing it with a rubber band to keep out contaminants while allowing airflow.
Place your brewing vessel in a warm, dark spot away from direct sunlight. The ideal temperature range for fermentation is between 68-78°F (20-26°C). Let the mixture ferment for 7-10 days, though this may vary depending on your taste preferences and environmental conditions.
During this time, the SCOBY will:
- Convert the sugar into organic acids and beneficial probiotics
- Develop complex flavors from the herbs and tea
- Create a new layer of SCOBY on the surface
Taste your kombucha every few days to monitor its progress. When it reaches your desired level of sweetness and tartness, it's ready for bottling or a second fermentation.
Second Fermentation Techniques
Second fermentation techniques offer a wonderful opportunity to enhance your herbal kombucha's flavor and carbonation.
After your initial fermentation, you'll transfer the kombucha to bottles, leaving about an inch of headspace. This is when you can add fruits, herbs, or spices to infuse unique flavors.
For fruit-infused kombucha, add fresh or frozen fruit directly to the bottles. Berries, mangoes, and peaches work well. If using herbs, consider mint, basil, or lavender. Spices like ginger or cinnamon can add a warming touch.
Experiment with combinations to create your signature blend.
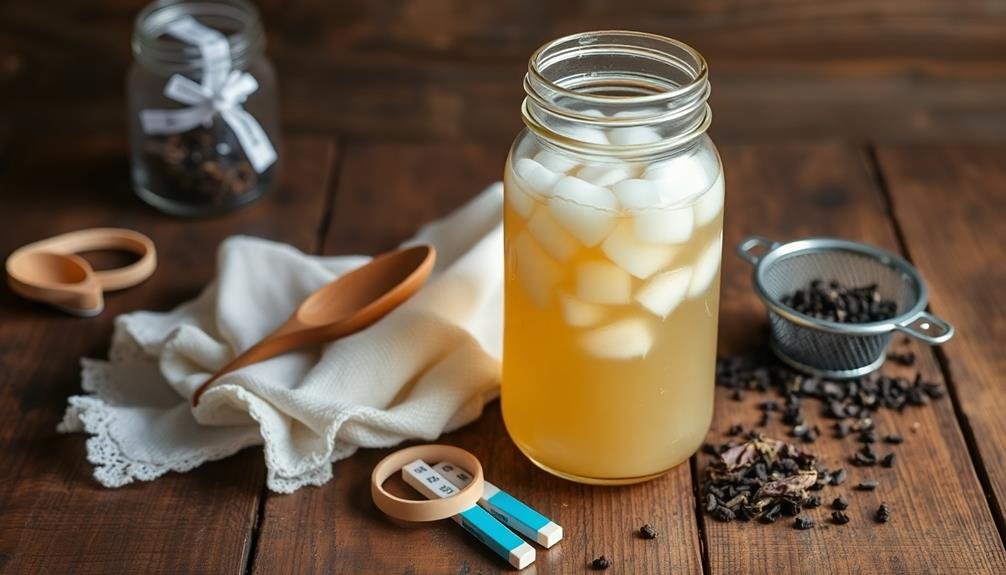
Seal the bottles tightly and let them sit at room temperature for 1-3 days. This secondary fermentation will increase carbonation and develop flavors.
Check the bottles daily by carefully opening one to assess carbonation levels. When you're satisfied with the taste and fizz, refrigerate to slow fermentation.
Bottling Your Herbal Kombucha

Properly bottling your herbal kombucha is essential for preserving its flavors and ensuring ideal carbonation. Choose clean, airtight bottles designed for fermented beverages to withstand the pressure of carbonation. Swing-top bottles or recycled kombucha bottles work well.
Before bottling, strain your kombucha through a fine-mesh sieve or cheesecloth to remove any large particles or herbs. Fill each bottle, leaving about an inch of headspace at the top. This space allows for carbonation buildup without causing the bottle to explode.
Seal the bottles tightly and store them at room temperature for 1-3 days to achieve your desired level of carbonation. Remember to "burp" the bottles daily by briefly opening them to release excess pressure.
Once you're satisfied with the carbonation, refrigerate your bottled kombucha to slow fermentation. When storing, keep these points in mind:
- Store bottles upright to minimize surface area exposed to air
- Keep away from direct sunlight to preserve flavor and nutrients
- Consume within 1-3 months for peak taste and health benefits
Flavor Combinations to Try
Countless flavor combinations await your exploration when crafting herbal kombucha. Start with classic pairings like lavender and lemon, or ginger and turmeric for a spicy kick.
If you're feeling adventurous, try rosemary and grape, or sage and apple for unique autumn flavors.
For a floral twist, combine chamomile with vanilla and honey. Mint and lemongrass create a revitalizing blend, perfect for hot summer days.
Experiment with berries like strawberry and basil or blackberry and thyme for fruity variants. Don't forget about herbs like holy basil (tulsi) or lemon balm, which can add depth and complexity to your brew.
For a more medicinal approach, try echinacea and elderberry during cold and flu season. Hibiscus and rose hips offer a tangy, vitamin C-rich option.
You can also incorporate adaptogenic herbs like ashwagandha or rhodiola for potential stress-reducing benefits.
Remember to start with small batches when trying new combinations. This allows you to fine-tune your recipes without wasting ingredients.
Keep notes on your experiments to replicate successful blends and improve upon less successful ones.
Troubleshooting Common Issues
Despite your best efforts, you may encounter some challenges when brewing herbal kombucha. Common issues include mold growth, weak fermentation, and off-flavors. If you spot any fuzzy, green, or black patches on your SCOBY or brew, discard everything and start over.
Weak fermentation often results from low temperatures or insufficient sugar. Confirm your brewing area maintains a consistent 68-78°F (20-26°C) and use the recommended sugar amount.
Off-flavors can stem from various factors. Here's how to address them:
- Vinegary taste: Your brew has fermented too long. Reduce fermentation time or temperature.
- Yeasty flavor: Too many yeast strands in your SCOBY. Rinse it gently before starting a new batch.
- Medicinal taste: You've used too many herbs or left them steeping for too long. Reduce the amount or steeping time.
If your kombucha tastes flat, try increasing carbonation by adding more sugar during the second fermentation or leaving it longer at room temperature.
Health Benefits of Herbal Kombucha
While mastering the brewing process is important, understanding the health benefits of herbal kombucha can motivate you to perfect your craft. Herbal kombucha offers a unique blend of probiotics and antioxidants that support digestive health and boost your immune system. The fermentation process creates beneficial bacteria and yeast, which can improve gut flora and aid in digestion.
Depending on the herbs you choose, you'll gain additional health benefits. For instance, green tea kombucha is rich in polyphenols that may help reduce inflammation and support heart health. Chamomile kombucha can promote relaxation and improve sleep quality. Ginger kombucha may help alleviate nausea and reduce muscle pain.
The organic acids produced during fermentation can support liver function and detoxification. These acids also contribute to kombucha's potential ability to balance blood sugar levels. Some studies suggest that regular kombucha consumption may help protect against certain types of cancer, though more research is needed.
Remember that while herbal kombucha offers numerous health benefits, it's not a cure-all. Incorporate it into a balanced diet and healthy lifestyle for best results. Always consult with a healthcare professional before using kombucha as a treatment for any specific health condition.
Storing and Serving Tips

Having brewed your perfect batch of herbal kombucha, it's vital to store and serve it correctly to maintain its quality and flavor.
Store your kombucha in airtight glass bottles in the refrigerator to slow down fermentation and preserve its taste. Avoid using plastic containers, as they can leach chemicals into your brew. For ideal flavor, consume your kombucha within 1-3 months of bottling.
When serving, pour your kombucha into glasses slowly to minimize carbonation loss. If you've added herbs or fruit during secondary fermentation, strain the liquid to remove any particles. Serve chilled over ice for a revitalizing drink, or mix with sparkling water for a lighter version.
To elevate your kombucha experience, consider these serving suggestions:
- Garnish with fresh herbs or fruit slices to complement the flavor profile
- Use kombucha as a mixer in cocktails or mocktails for a probiotic twist
- Incorporate it into salad dressings or marinades for a tangy, health-boosting ingredient
Frequently Asked Questions
Can I Use Artificial Sweeteners Instead of Sugar in Kombucha Brewing?
You shouldn't use artificial sweeteners in kombucha brewing. They won't provide the necessary nutrients for the SCOBY to thrive. Stick to real sugar; don't worry, most of it'll be consumed during fermentation, resulting in a low-sugar beverage.
Is It Safe to Drink Kombucha During Pregnancy or While Breastfeeding?
You should be cautious about drinking kombucha during pregnancy or while breastfeeding. It's best to consult your healthcare provider, as unpasteurized kombucha may contain alcohol and harmful bacteria. If you choose to drink it, opt for store-bought, pasteurized varieties.
How Long Does Homemade Kombucha Last Before It Goes Bad?
Your homemade kombucha can last 1-3 months when refrigerated. You'll notice it's gone bad if it smells off, develops mold, or tastes vinegary. It's best to consume it within a few weeks for ideal flavor.
Can I Use Metal Utensils or Containers When Brewing Kombucha?
You shouldn't use metal utensils or containers when brewing kombucha. The acidic nature of kombucha can react with metal, potentially leaching harmful substances into your brew. Stick to glass, ceramic, or food-grade plastic materials instead.
What's the Difference Between Jun Tea and Kombucha?
You'll notice jun tea and kombucha are both fermented drinks, but they're different. Jun uses green tea and honey, while kombucha uses black tea and sugar. Jun's fermentation is faster and produces a milder, smoother taste.
In Summary
You're now equipped to craft your own herbal kombucha! Don't be afraid to experiment with unique tea blends and flavors. Remember to maintain cleanliness and monitor your brew closely. With practice, you'll perfect your technique and create delicious, healthy kombucha tailored to your taste. Share your creations with friends and family, and enjoy the satisfaction of mastering this ancient art of fermentation. Cheers to your kombucha journey!
Leave a Reply