If you're looking to grow herbs from indoor cuttings, basil, mint, and rosemary are excellent choices. Basil thrives in warm, sunny spots and roots quickly, enriching your dishes with its flavor. Mint is hardy and grows fast, perfect for enhancing teas or salads. Rosemary is a resilient perennial that requires full sun and monthly care. Other great options include chives, thyme, and cilantro. To guarantee success, select healthy cuttings and maintain proper light and moisture. With these tips, you'll soon have a thriving indoor herb garden, and there's so much more to discover about propagating your favorites!
Benefits of Indoor Herb Cuttings

When you propagate herbs from cuttings indoors, you not only save money but also gain access to fresh ingredients right at your fingertips. Growing herbs from cuttings allows you to enjoy a continual supply of your favorite flavors without the need to purchase new plants constantly. You can create a thriving indoor garden with minimal investment, turning kitchen scraps into lush greenery.
Additionally, propagating herbs is an excellent way to guarantee you have the freshest ingredients for your culinary adventures. Fresh herbs can elevate your dishes, offering vibrant flavors and aromas that dried herbs simply can't match. Growing your own herbs means you can harvest them at their peak, enhancing your meals' taste and nutritional value.
Moreover, indoor herb propagation can be an enjoyable and therapeutic hobby. You'll find satisfaction in nurturing plants and watching them thrive under your care. It's also a fantastic way to connect with nature, even within the confines of your home.
Plus, it's a fun learning experience, as you discover the nuances of each herb's growth cycle. With every cutting, you're not just cultivating plants; you're cultivating a rewarding and enriching experience.
Best Herbs for Indoor Propagation
When you're looking to propagate herbs indoors, some varieties stand out as the best choices.
Knowing which herbs thrive from cuttings can make your gardening experience more rewarding.
Let's explore the ideal herbs for propagation and the techniques that work best for each.
Ideal Herbs for Cuttings
If you're looking to grow herbs indoors from cuttings, several varieties stand out for their ease of propagation and vibrant flavors. Basil is one of the top choices; it roots quickly and adds a fresh taste to various dishes.
You'll also love mint, which not only thrives from cuttings but also gives off a delightful aroma that can invigorate any space.
Rosemary is another fantastic option. It may take a bit longer to root, but the robust flavor and versatility in cooking make it worth the wait.
Thyme is similar, requiring a bit of patience but rewarding you with its earthy taste once established.
Chives are also ideal for indoor propagation. Their quick growth and mild onion flavor can elevate your meals effortlessly.
Don't forget about oregano, which is a staple in many cuisines and grows well from cuttings.
Lastly, consider sage, which offers a distinctive flavor profile and is relatively easy to propagate indoors.
Each of these herbs not only enhances your culinary creations but also adds greenery to your indoor environment, making your space feel more inviting.
Propagation Techniques Explained
Once you've chosen the right herbs for indoor propagation, understanding the techniques for taking cuttings is key to success. Each herb may require slightly different approaches, but the basics remain consistent.
Here's how you can effectively propagate your herbs:
- Select Healthy Cuttings: Look for a healthy stem with several leaves. Make sure it's free from pests or disease. Cut about 4-6 inches below a node, where new growth will emerge.
- Prepare the Cuttings: Remove the lower leaves to prevent them from rotting in water or soil. If you're using soil, dip the cut end in rooting hormone to encourage root growth.
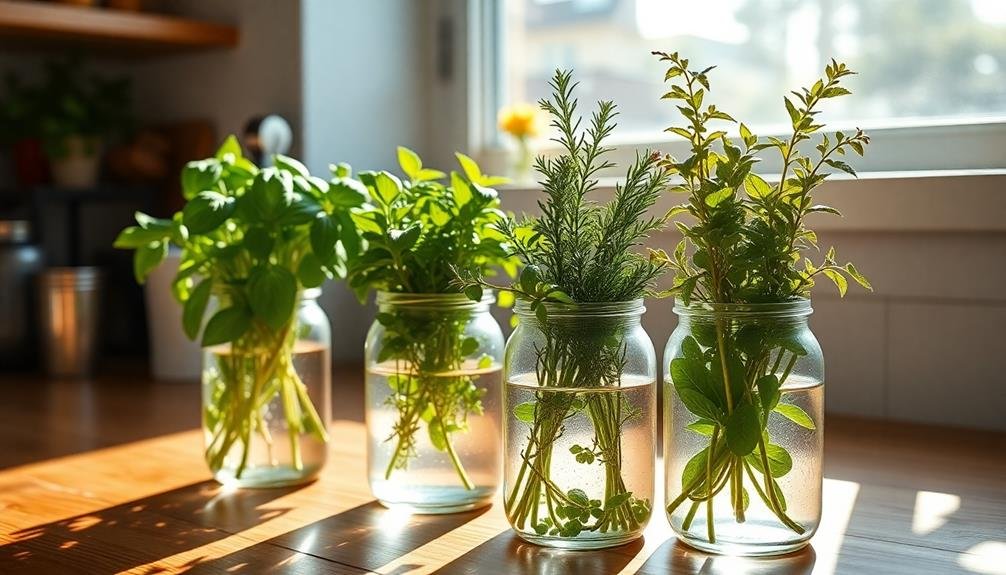
- Choose Your Medium: You can propagate in water or soil. If you opt for water, place the cutting in a clear glass to monitor root development.
For soil, plant the cutting in a well-draining potting mix, and keep it moist but not soggy.
Mint: A Versatile Choice
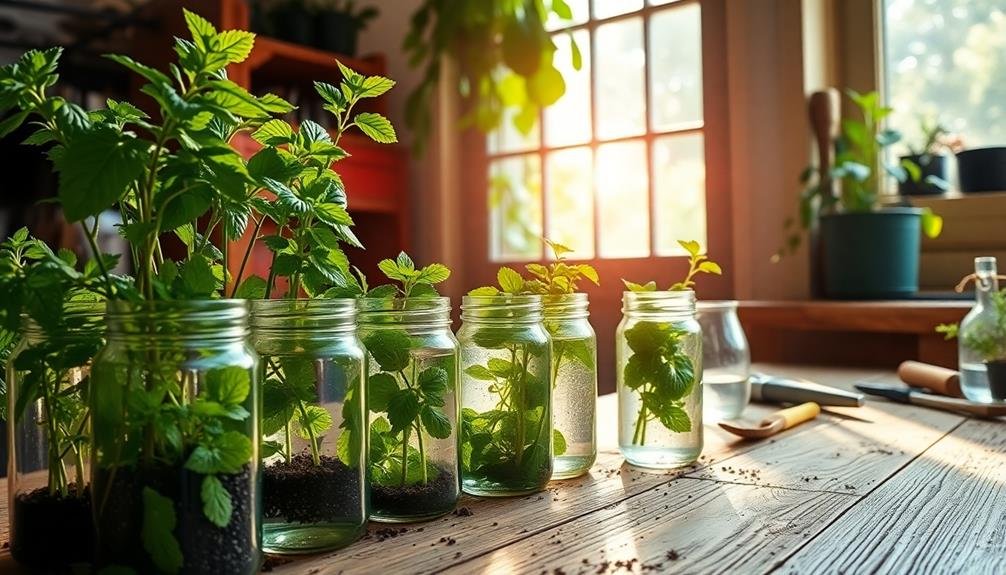
While you might think of mint as just a flavorful addition to dishes and drinks, it's actually one of the easiest herbs to grow from cuttings indoors. Mint's fast growth and hardiness make it a versatile choice for your indoor garden. You can easily propagate mint by taking a cutting from an established plant, ideally one that's healthy and vibrant.
To start, snip a few inches off the top of a mint stem, ensuring you include several leaves. Place the cutting in a glass of water, making sure the leaves are above the water line. Set it in a sunny spot, and within a week or two, you should see roots forming. Once the roots are a few inches long, transfer the cutting to a pot filled with well-draining soil.
Mint thrives in various conditions, but it prefers bright, indirect light. Keep the soil moist but not soggy, and your mint should flourish.
You'll soon have fresh mint leaves at your disposal for teas, salads, or even cocktails. Plus, growing mint indoors helps keep pests away, making it a win-win for your home and cooking!
Basil: Flavorful and Fragrant
Basil is another fantastic herb to grow from cuttings indoors, offering a delightful aroma and rich flavor that elevates a variety of dishes. This popular herb thrives in warm environments and loves sunlight, making it perfect for your kitchen windowsill.
The best part is that you can easily propagate basil from cuttings, ensuring you always have fresh leaves on hand.
To successfully grow basil from cuttings, follow these simple steps:
- Choose the Right Cutting: Select a healthy stem with at least 4 inches in length and several leaves. Trim just below a leaf node.
- Prepare the Water: Place the cutting in a glass of water, ensuring the leaf nodes are submerged. Change the water every few days to keep it fresh.
- Transplant When Ready: After a week or two, roots will start to develop. Once they're about 2 inches long, transplant your basil cutting into a pot with well-draining soil.
With a little patience and care, you'll enjoy an abundant supply of fresh basil, ideal for enhancing your favorite dishes!
Rosemary: Hardy Indoor Herb
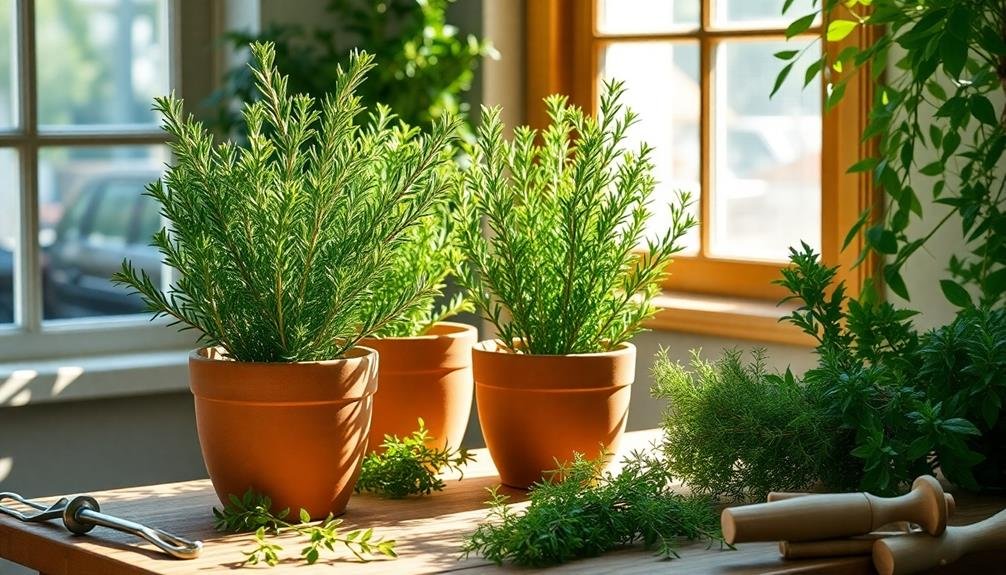
Rosemary is a robust herb that thrives indoors, bringing both flavor and a lovely fragrance to your home. It's a perennial, meaning it can last for years with proper care. When growing rosemary from cuttings, you'll want to select healthy stems, ideally about 4 to 6 inches long. Remove the lower leaves, and place the cuttings in water or directly in soil.
Here's a handy table to help you understand the key care elements for rosemary:
| Aspect | Details | Tips |
|---|---|---|
| Light | Full sun (6-8 hours) | Rotate for even growth |
| Watering | Allow soil to dry between waterings | Avoid over-watering |
| Temperature | 60-70°F (15-21°C) | Keep away from drafts |
| Fertilizer | Balanced liquid fertilizer (monthly) | Dilute to half strength |
| Pruning | Trim regularly for bushy growth | Use sharp scissors |
Thyme: Easy to Grow
Thyme is another fantastic herb you can easily grow indoors from cuttings. Its aromatic leaves can enhance your dishes, and the good news is that it's quite simple to propagate. You'll enjoy the process as much as the results!
To successfully grow thyme from cuttings, follow these three straightforward steps:
- Select Healthy Cuttings: Choose a healthy stem from an existing thyme plant, ideally about 4-6 inches long. Make a clean cut just below a leaf node to encourage rooting.
- Prepare the Soil: Fill a small pot with well-draining potting mix. You can also use a mix of sand and peat for ideal drainage.
- Water and Wait: Place the cutting in the soil, ensuring the leaf nodes are buried. Water it lightly and cover it with a plastic bag or a dome to create a humid environment.
Check regularly, and in a few weeks, you'll notice roots developing.
With just a little care, you'll have fresh thyme ready for your culinary adventures. Happy growing!
Oregano: Mediterranean Delight

Oregano embodies the essence of Mediterranean cuisine, making it a beloved choice for indoor gardeners. If you're looking to grow this fragrant herb from cuttings, you're in for a treat. Oregano isn't only easy to propagate, but it also thrives in indoor environments.
To start, take a cutting from a healthy oregano plant, ideally around 4 to 6 inches long. Remove the lower leaves, leaving just a few at the top. This helps the cutting focus energy on root development.
Place it in a glass of water, ensuring that the bare stem is submerged but the leaves remain dry. Within a week or two, you'll notice roots beginning to form.
Once the roots are about an inch long, it's time to transfer your cutting to soil. Choose a well-draining potting mix and a pot with drainage holes.
Water the soil lightly and place your oregano in a sunny spot, as it loves warmth and light. Keep the soil moist but not soggy, and soon, you'll have fresh oregano ready to elevate your culinary creations.
Enjoy the process, and savor the Mediterranean flavors right from your home!
Sage: Aromatic and Resilient
If you're looking to expand your indoor herb garden, sage is a fantastic choice. This aromatic herb not only adds flavor to your dishes but also thrives indoors with just a little care.
Sage is resilient, making it perfect for beginners and seasoned gardeners alike.
To successfully grow sage from cuttings, follow these simple steps:
- Choose Healthy Cuttings: Select a healthy sage plant and cut a 4-6 inch stem just below a node. Remove the lower leaves, leaving a few at the top.
- Rooting Medium: Place the cutting in a glass of water or directly in moist potting soil. If using water, change it every few days to prevent stagnation.
- Light and Temperature: Sage loves bright, indirect sunlight. Keep it in a warm spot, ideally around 70°F (21°C).
With a little patience, your sage cutting will develop roots and can be transferred to a pot.
Soon, you'll enjoy fresh sage leaves for your culinary creations. Embrace the process and relish the aromatic rewards of your indoor herb garden!
Chives: A Simple Option
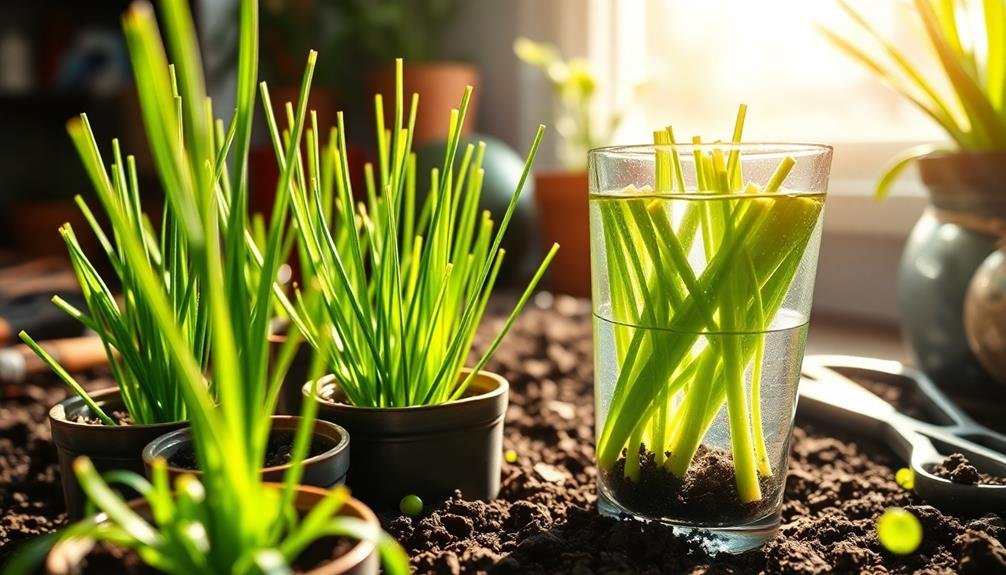
When growing herbs indoors, chives are a simple and rewarding option. They're easy to propagate from cuttings, making them perfect for your indoor garden. To start, snip a healthy section of chive stems, ideally about 4 to 6 inches long. Make certain to use clean scissors to prevent any contamination.
Next, place the cuttings in a glass of water, making sure that the lower ends are submerged while the tops remain above the waterline. Position the glass in a bright spot, like a windowsill, where they can receive plenty of indirect sunlight. Change the water every few days to keep it fresh and promote healthy growth.
After a week or two, you'll notice roots developing. Once they're around 2 inches long, you can transfer the chives to a small pot filled with potting mix. Water them gently and keep the soil moist but not soggy.
Chives thrive in well-draining soil and prefer full sun, so make certain they get at least 6 hours of light daily. With minimal effort, you'll soon have fresh chives ready to enhance your dishes, bringing a delightful flavor to your cooking!
Lemon Balm: Refreshing Aroma
Lemon balm's invigorating aroma can instantly brighten up your indoor herb garden. This delightful herb not only enhances the atmosphere but also offers numerous benefits.
You'll love how easy it's to grow from cuttings. Just take a healthy stem, place it in water, and watch it thrive!
Here are three reasons you should consider growing lemon balm:
- Aromatherapy Benefits: The fresh citrus scent of lemon balm can uplift your mood and promote relaxation. It's often used in teas and essential oils for its calming properties.
- Culinary Uses: You can easily incorporate lemon balm into your dishes. Its zesty flavor pairs well with salads, desserts, and beverages, making your meals even more revitalizing.
- Pest Repellent: Lemon balm acts as a natural deterrent for pests like mosquitoes and flies. Planting it indoors can help keep your space more comfortable during the warmer months.
Cilantro: Fast-Growing Herb

Cilantro's quick growth makes it a favorite for indoor gardeners.
To get the best results, you'll want to master the ideal cutting technique and create prime growing conditions.
Plus, knowing when and how to harvest will help you enjoy its fresh flavor in your dishes.
Ideal Cutting Technique
If you want to grow cilantro from cuttings, mastering the ideal technique can make all the difference.
Getting it right guarantees that your cuttings root quickly and thrive. Here are three essential steps you should follow:
- Choose Healthy Stems: Look for vibrant, green stems that are firm and free from any signs of disease. Cut a 4-6 inch piece from the top part of the plant, making sure it has a few leaves.
- Make a Clean Cut: Use sharp, sterilized scissors or a knife to make a clean cut just below a node (the point where leaves emerge). This encourages better rooting, as the node has the potential to develop roots.
- Water Immediately: Place your cutting in a container with water right after cutting. Ensure at least one node is submerged.
Change the water every few days to keep it fresh, which helps prevent rot and encourages strong root growth.
Optimal Growing Conditions
To cultivate cilantro successfully, it's crucial to create ideal growing conditions that cater to its unique needs. Cilantro thrives in well-draining soil, so use a lightweight potting mix that allows for good airflow.
Make sure your pot has drainage holes to prevent waterlogging, which can lead to root rot.
Cilantro loves sunlight, so place your cuttings in a spot where they'll receive at least 6 hours of bright, indirect light daily. If natural light is limited, consider using grow lights to supplement their light exposure.
Keep the temperature between 65°F and 75°F, as cilantro prefers a warm environment.
Water your cilantro regularly, but don't overdo it. Check the top inch of soil; if it's dry, it's time to water. Aim for a balance—too much moisture can harm your plants, while too little can stunt their growth.
Humidity also plays a role in cilantro's success. If your home is dry, consider placing a humidifier nearby or misting the plants occasionally.
Harvesting and Usage Tips
Once your cilantro has reached a height of about 6 inches, it's time to start harvesting. This fast-growing herb can be picked frequently, ensuring you enjoy fresh flavor in your dishes.
To harvest effectively, follow these tips:
- Snip the Outer Leaves: Always start by cutting the outer leaves first, as this encourages new growth from the center. Use clean, sharp scissors to avoid damaging the plant.
- Leave Enough Foliage: When harvesting, make sure to leave at least one-third of the plant intact. This will allow your cilantro to continue growing and producing more leaves.
- Harvest Regularly: The more you harvest, the more your cilantro will thrive. Aim to snip off leaves every couple of weeks, especially before the plant flowers, as this can affect the flavor.
Once you've harvested, you can use cilantro in a variety of dishes such as salsas, salads, and soups.
Fresh cilantro adds a bright, zesty flavor that enhances your meals. So go ahead, enjoy the fruits of your labor, and keep your cilantro thriving!
Stevia: Natural Sweetener
Stevia, a popular natural sweetener, has gained traction among health-conscious individuals looking for sugar alternatives. If you're seeking a way to satisfy your sweet tooth without the calories, stevia is a fantastic option. Derived from the leaves of the Stevia rebaudiana plant, this herb can be up to 300 times sweeter than regular sugar, making it a potent choice for sweetening beverages and dishes.
Growing stevia from cuttings is a straightforward process. You can easily take cuttings from a healthy plant and root them in water or soil. Once established, you'll enjoy fresh leaves to sweeten your drinks and desserts.
Since stevia is a perennial, it thrives indoors, allowing you to cultivate it year-round. The best part? Stevia doesn't spike your blood sugar levels, making it suitable for diabetics and those on low-carb diets.
You can use it in tea, smoothies, or even baked goods, offering versatility in your kitchen. With the right care, your indoor stevia plant will provide a continuous supply of this natural sweetener, enhancing your meals without the guilt of traditional sugar.
Tips for Successful Cuttings

Successful cuttings require a few key techniques to assure healthy growth. If you want your herbs to thrive, follow these essential tips:
- Choose the Right Time: Take cuttings during the plant's active growth period, typically in spring or early summer. This assures that the plant is producing new growth, making it easier for roots to develop.
- Use Clean, Sharp Tools: Always use clean, sharp scissors or pruning shears to take your cuttings. This minimizes damage to the plant and reduces the risk of introducing diseases. Aim for cuttings that are about 4-6 inches long, with at least a few leaves.
- Provide Proper Conditions: After taking your cuttings, place them in a moist, well-draining medium. A mix of potting soil and perlite works well.
Keep the humidity high by covering the cuttings with a plastic bag or placing them in a mini greenhouse. Make sure they get indirect sunlight to avoid scorching.
Frequently Asked Questions
How Long Does It Take for Cuttings to Root Indoors?
When you're taking cuttings indoors, it usually takes about two to four weeks for roots to develop. Keep the cuttings in a warm, humid environment, and you'll see progress sooner than you think!
Can I Use Store-Bought Herbs for Cuttings?
Yes, you can use store-bought herbs for cuttings. Just make sure they're fresh and healthy. Trim them properly, place them in water, and watch them root. It's a simple way to grow your own herbs!
What Type of Soil Is Best for Herb Cuttings?
For herb cuttings, you'll want a well-draining soil mix, ideally combining potting soil with perlite or sand. This guarantees proper aeration and moisture retention, helping your cuttings establish strong roots without becoming waterlogged.
Should I Use a Humidity Dome for My Cuttings?
Using a humidity dome for your cuttings can really help maintain moisture levels. It creates a stable environment that encourages root growth. Just be sure to monitor for condensation to prevent mold.
How Often Should I Water Indoor Herb Cuttings?
You should water your indoor herb cuttings when the top inch of soil feels dry. Generally, this means checking every few days, but adjust based on your environment's humidity and temperature. Overwatering's a common mistake!
In Summary
Growing herbs from indoor cuttings is a rewarding and cost-effective way to enhance your kitchen. By choosing the right herbs like mint, basil, and rosemary, you can enjoy fresh flavors year-round. Remember to provide proper care and a suitable environment for your cuttings to thrive. With a little patience and attention, you'll be on your way to a flourishing indoor herb garden that brings both beauty and culinary delights to your home. Happy gardening!

Leave a Reply